Pea shoots are becoming increasingly popular among home gardeners and food enthusiasts for their fresh taste and remarkable nutritional profile. These tender green sprouts pack a flavorful punch, often compared to sweet peas but with a delicate texture that enhances various dishes. Best of all, growing pea shoots indoors requires minimal effort, making them an ideal choice for those who want to enjoy home-grown greens year-round. This article will guide you through the steps of effortlessly growing pea shoots indoors, providing tips, techniques, and insights.
Understanding Pea Shoots
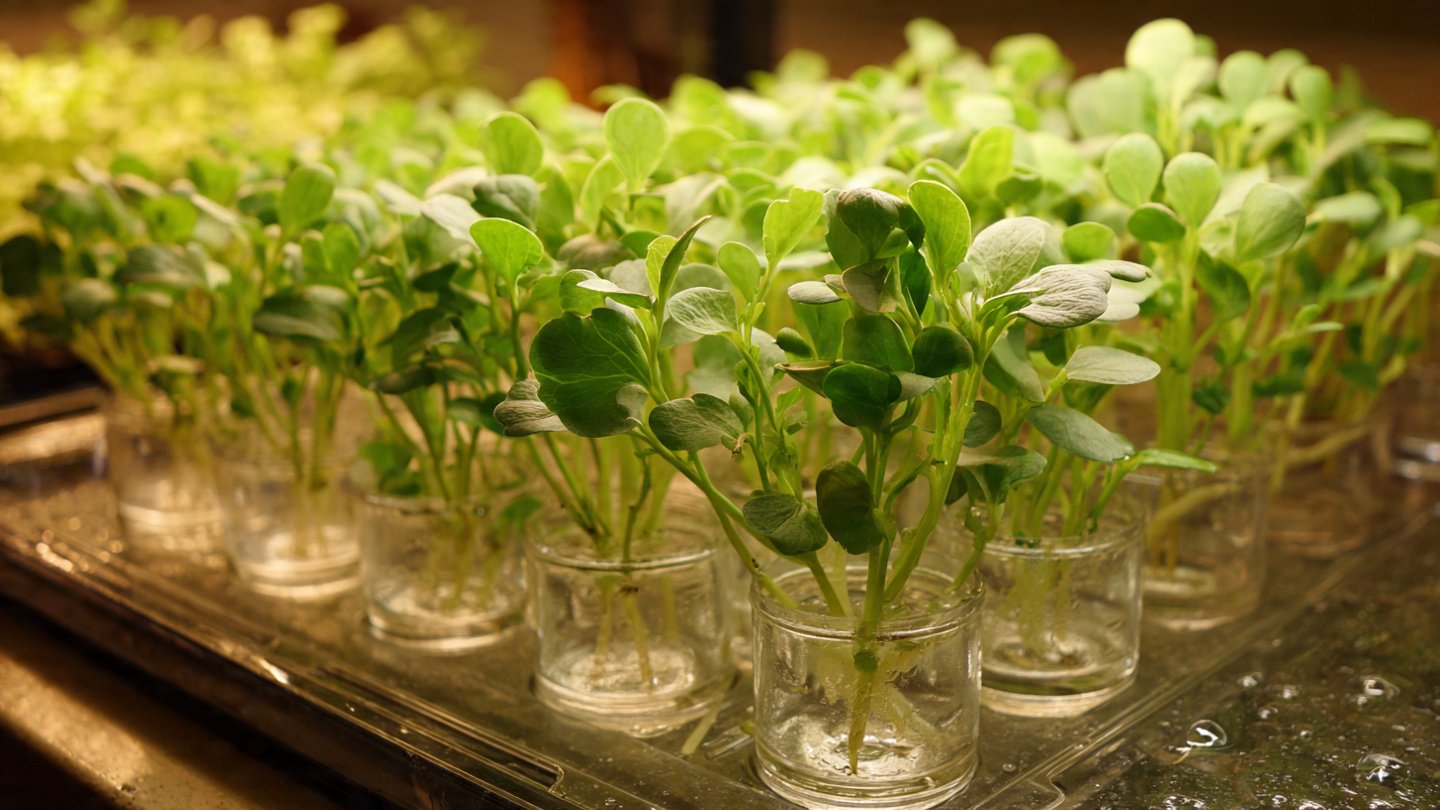
Pea shoots are the young leaves and tendrils of the pea plant (Pisum sativum). These greens are not only delicious but also incredibly nutritious, rich in vitamins A, C, and K, as well as antioxidants and fiber. Their sweet, mild flavor makes them a versatile addition to salads, sandwiches, stir-fries, and more.
Why Grow Pea Shoots Indoors?
- Space Efficiency: Pea shoots can thrive in small spaces, making them perfect for apartments or homes with limited gardening capabilities.
- Quick Growth: With a growth cycle of just 2 to 3 weeks, you can enjoy fresh greens in no time.
- Year-Round Harvest: Growing indoors allows you to cultivate pea shoots regardless of the season, offering fresh greens all year long.
- Easy to Cultivate: Minimal fuss and maintenance make them suitable for even novice gardeners.
- Cost-Effective: Growing your own pea shoots can save money compared to purchasing them from the store.
Step-by-Step Guide to Growing Pea Shoots Indoors
1. Gather Your Materials
Before you embark on your pea shoot journey, gather the following materials:

- Seeds: Purchase organic peas, ideally the types specified for sprouting. Look for varieties such as ‘Green Arrow’ or ‘Alaska’ that at least have the potential for great flavor.
- Container: Choose a shallow tray or container (1-2 inches deep) that provides good drainage. You can use a seedling tray, a shallow pot, or even a recycled container.
- Growing Medium: Use a soilless potting mix, coconut coir, or even a paper towel for germination. A mix designed for seed starting is also ideal.
- Water: You’ll need room temperature water for soaking and moisten the growing medium.
- Light Source: If you don’t have sufficient natural light, consider a grow light.
2. Soak the Seeds
Soaking the seeds is a crucial step that enhances germination:
- Rinse: Rinse about half a cup of pea seeds thoroughly under running water to remove any impurities.
- Soak: Place the rinsed seeds in a bowl, covering them with water. Let them soak for 6 to 12 hours. Soaking helps to activate the seeds and jumpstart the germination process.
3. Prepare the Growing Medium
While the seeds are soaking, prepare your growing medium:
Latest Posts
- Easy Steps to Successfully Grow Bhindi in Grow Bags at Home
- Easy Steps to Grow a Healthy Guava Bonsai at Home for Beginners
- How to Successfully Grow and Cultivate White Strawberry Plants at Home for Delicious and Unique Fruits
- Ultimate Guide to Successfully Growing Weeping Fig Outdoors with Proven Techniques and Expert Tips
- How to Successfully Grow Flemish Beauty Pear Trees in Canada for Optimal Harvest
- Easy Hack to Grow Strawberries Year Round in Your Home Garden for Delicious Harvests
- Growing Flemish Beauty Pears in Canada A Complete Guide for Local Gardens
- The Ultimate Guide to Growing Hibiscus Plants Year Round for Vibrant Blooms and Healthy Foliage
- Easy Ways to Boost the Growth Rate of Your Indoor Peace Lily for Lush Green Foliage
- How to Successfully Grow Oak Leaf Lettuce in Your Home Garden for Fresh and Flavorful Salads
- Fill the Container: Fill your chosen container with the potting mix to within an inch of the top.
- Moisten: Lightly moisten the soil with water. It should be damp but not waterlogged.
4. Plant the Seeds
After soaking the seeds, it’s time to plant:

- Drain: Drain the soaked seeds to remove excess water.
- Spread: Evenly spread the seeds over the surface of the moistened growing medium. Try to keep them close but not overcrowded, as they need space to grow.
- Cover: Gently press the seeds into the soil and cover them with a light layer of soil (about 1/4 inch).
5. Watering
Watering is essential for germination:
- Mist: Use a spray bottle to mist the soil gently, ensuring it remains moist but not soaked.
- Cover: Place a plastic dome or a piece of plastic wrap over the container to maintain humidity while the seeds germinate.
6. Provide Light and Temperature
Pea shoots prefer a bright, warm environment:
- Lighting: After the seeds have germinated (usually within 4-7 days), remove the cover and place the container in a bright spot with indirect sunlight. If natural light is limited, a grow light can provide the necessary exposure. Aim for 12-16 hours of light per day.
- Temperature: The ideal temperature for growing pea shoots is between 65°F and 75°F (18°C to 24°C).
7. Maintain Moisture
Moisture is vital for healthy growth:

- Watering Strategy: Use a spray bottle to mist the shoots daily. As the shoots grow taller, you can switch to bottom watering by placing the container in a shallow tray filled with water for 30 minutes to allow the soil to absorb moisture.
- Avoid Overwatering: Ensure good drainage to prevent mold and root rot.
8. Harvesting
One of the most exciting aspects of growing pea shoots is the rapid harvesting process:
- Timing: Pea shoots are typically ready to harvest in 2 to 3 weeks after planting, once they reach about 3-6 inches in height and have developed several sets of leaves.
- Method: Using clean scissors, cut the pea shoots just above the soil line. Leave the roots in the soil, as they won’t regrow, but you can harvest a few at a time.
9. Enjoy Your Greens
Pea shoots are a versatile addition to your meals:
- Salads: Toss young shoots into fresh salads for a sweet, crisp texture.
- Sandwiches: Use them as a flavorful garnish for sandwiches or wraps.
- Stir-frying: Add to stir-fries and other cooked dishes for a nutritious boost.
- Garnishing: Use as a garnish for soups, omelets, and other dishes.
Tips for Successful Indoor Pea Shoots
- Experiment with Varietals: Different pea varieties can have unique flavors and appearances. Don’t hesitate to try different kinds for diversity.
- Rotate Light Sources: If using a grow light, rotate the container occasionally to ensure even growth.
- Use Fertilizers: Although not necessary, you can use a diluted liquid fertilizer once during the growth cycle for an added nutritional boost.
- Pest Management: Keep an eye out for pests like aphids. If detected, use a gentle soap spray to remove them.
- Keep it Clean: Always maintain cleanliness around your growing area to avoid diseases and pests.
Troubleshooting Common Issues
Poor Germination
- Ensure seeds were soaked adequately and planted at the right depth.
- Check the moisture level; seeds should be kept consistently moist (not soaked) while germinating.
Leggy Growth
- Insufficient light can cause thin, leggy shoots. Ensure they receive 12-16 hours of light daily, either from natural sunlight or grow lights.
Mold Development
- This is often a result of excessive moisture. Avoid over-watering and improve airflow by reducing humidity during germination.
Conclusion
Growing pea shoots indoors is not only achievable but also rewarding, offering fresh, nutritious greens at your fingertips. Using the simple steps outlined above, you can create a small but abundant indoor garden that enhances your culinary experiences while promoting health. So gather your materials, get started, and enjoy the delicious satisfaction of home-grown pea shoots!

By incorporating this delightful green into your meals, you’re not just making tasty choices but also nourishing your body with vital nutrients straight from your indoor garden. Happy planting!