Rubber plants (Ficus elastica) have gained immense popularity among houseplant enthusiasts due to their striking appearance, easy care routines, and air-purifying qualities. Not only can these plants bring a touch of elegance to your indoor spaces, but propagating them can be a rewarding endeavor. In this article, we will delve into the best methods for propagating rubber plants from cuttings, ensuring you achieve success while expanding your plant collection.
Understanding the Rubber Plant
Origin and Features
Latest Posts
- Easy Steps to Successfully Grow Bhindi in Grow Bags at Home
- Easy Steps to Grow a Healthy Guava Bonsai at Home for Beginners
- How to Successfully Grow and Cultivate White Strawberry Plants at Home for Delicious and Unique Fruits
- Ultimate Guide to Successfully Growing Weeping Fig Outdoors with Proven Techniques and Expert Tips
- How to Successfully Grow Flemish Beauty Pear Trees in Canada for Optimal Harvest
- Easy Hack to Grow Strawberries Year Round in Your Home Garden for Delicious Harvests
- Growing Flemish Beauty Pears in Canada A Complete Guide for Local Gardens
- The Ultimate Guide to Growing Hibiscus Plants Year Round for Vibrant Blooms and Healthy Foliage
- Easy Ways to Boost the Growth Rate of Your Indoor Peace Lily for Lush Green Foliage
- How to Successfully Grow Oak Leaf Lettuce in Your Home Garden for Fresh and Flavorful Salads
The rubber plant (Ficus elastica) is native to Southeast Asia and can grow into a tall tree in ideal outdoor conditions. It features large, glossy leaves that come in a range of colors, including deep green, variegated green and white, and even reddish hues. This diversity in leaf color makes the rubber plant a favorite choice for indoor gardening.
Benefits of Propagation
-
Cost-Effective: Propagating rubber plants from cuttings allows you to expand your plant collection without spending money on new plants.
-
Gift-Giving: Healthy cuttings make thoughtful gifts for friends and family who love plants.
-
Preservation: If your original plant is suffering, propagating cuttings can ensure that you have an offspring thriving in a healthy environment.
-
Plant Health: Removing overgrown cuttings can rejuvenate the parent plant, making it bushier and healthier.
Choosing the Right Time for Propagation
The best time to propagate a rubber plant is during the spring or early summer when the plant is actively growing. At this time, cuttings will root more quickly and develop stronger plants. Avoid propagating in winter, as the plant is in dormancy, making rooting more challenging.

Preparing for Propagation
Tools and Materials Needed
Before you begin the propagation process, gather the following materials:
- Sharp, Clean Shears: To prevent damage and disease transfer, use sterilized sharp shears to take cuttings.
- Containers: Use small pots or containers with good drainage. You can also use cups or jars if you’re opting for water propagation.
- Potting Medium: A well-draining potting mix is vital. You can use a blend of peat, perlite, and vermiculite or even just perlite alone.
- Water: For water propagation, ensure you have clean, filtered water.
- Clear Plastic Bag or Dome (Optional): These can help maintain humidity levels around your cuttings.
Propagation Methods
There are two primary methods for propagating a rubber plant: water propagation and soil propagation. Both methods can yield excellent results, but your choice might depend on the conditions you have available.
Method 1: Water Propagation
Water propagation is an accessible method that allows you to watch the roots develop. Here’s how to do it:
Step-by-Step Guide
-
Select a Healthy Stem: Choose a healthy, non-flowering stem from your rubber plant. Ideally, look for a stem with at least two leaves.
-
Make a Clean Cut: Using your shears, make a cutting below a leaf node, at least 4 to 6 inches long. A node is where the leaf attaches to the stem; this is crucial for root development.
-
Remove Lower Leaves: Carefully remove the lower leaves, leaving only one or two at the top. This reduces water loss and encourages root growth.
-
Place in Water: Submerge the cut end of the stem in a glass of clean, room-temperature water. Ensure that the leaf nodes are not submerged, as this can cause rot.
-
Provide Proper Conditions: Place the glass in a bright, indirect light location. Avoid direct sunlight, as this can heat the water and damage the cutting.
-
Change the Water Regularly: Change the water every few days to ensure it stays clean and oxygenated.
-
Wait for Roots to Develop: Within a few weeks to a couple of months, you should see roots forming. When the roots are at least 2-3 inches long, your cutting is ready to be planted in soil.
-
Transplant to Soil: Carefully remove the cutting from the water and plant it in a well-draining potting mix. Water it thoroughly and place it in a bright location.

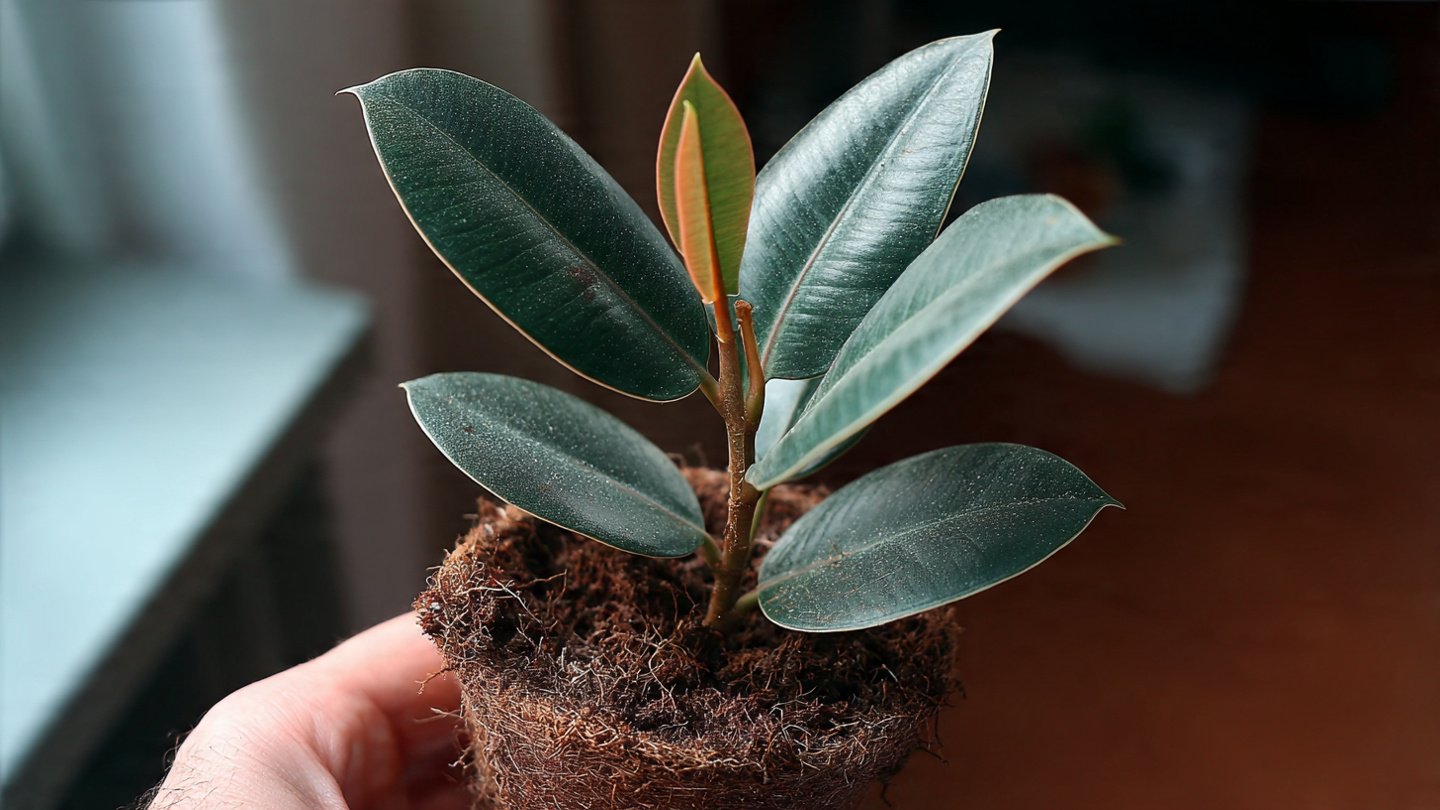
Method 2: Soil Propagation
Soil propagation is a more traditional method that allows the cutting to acclimate directly to its growing medium. Here’s how to do it:
Step-by-Step Guide
-
Select a Healthy Stem: Just like water propagation, select a healthy stem with at least two leaves.

-
Make a Clean Cut: Using sterilized shears, cut below a leaf node, keeping the cutting about 4 to 6 inches long.
-
Remove Lower Leaves: Trim off the lower leaves to minimize water loss.
-
Prepare the Potting Mix: Fill a small pot with a well-draining potting mix. You can mix standard potting soil with perlite or sand to improve drainage.
-
Moisten the Soil: Lightly moisten the potting mix, ensuring it is damp but not saturated.
-
Plant the Cutting: Make a hole in the potting mix with your finger or a pencil and insert the cutting, ensuring the leaf node is buried in the soil. Firm the soil around the cutting to support it.
-
Water the Cutting: Give the cutting a gentle watering to settle the soil around the stem.
-
Create a Humidity Chamber (Optional): To boost humidity, you can place a clear plastic bag or dome over the cutting, making sure it doesn’t touch the leaves. This helps retain moisture. Remove it occasionally to prevent mold growth and to allow for air circulation.
-
Place in Indirect Light: Position the pot in a bright but indirect light location. Avoid direct sunlight, which can scorch the cutting.
-
Wait for Roots to Develop: Within a few weeks, you should start to see new growth, indicating that roots are forming. After about 4-6 weeks, you can check for roots by gently tugging on the cutting; if you feel resistance, roots have developed.
Caring for Your New Rubber Plant

Once your rubber plant cutting has formed roots and is established, it’s important to provide it with proper care to ensure healthy growth.
Light Requirements
Rubber plants thrive in bright, indirect sunlight but can also tolerate low light. However, insufficient light can lead to leggy growth and reduced leaf color. Avoid placing your rubber plant in direct sunlight, as this can scorch the leaves.
Watering
Allow the top inch of soil to dry out before watering again. Rubber plants prefer mildly moist conditions, so overwatering can lead to root rot. Always ensure proper drainage in your pots.
Fertilization
When your rubber plant starts showing new growth, you can begin fertilizing. Use a balanced houseplant fertilizer every 4-6 weeks during the growing season (spring and summer). Reduce or stop fertilizing in fall and winter.
Temperature and Humidity
Rubber plants prefer a temperature range of 60-75°F (15-24°C) and enjoy moderate humidity. If your home is particularly dry, consider using a humidity tray or a room humidifier.
Pruning
Regular pruning will keep your rubber plant healthy and promote bushier growth. Trim back leggy growth or any damaged leaves to encourage your plant to become fuller.
Troubleshooting Common Issues
While propagating rubber plants can be straightforward, sometimes challenges can arise. Here are some common issues and how to address them:

yellowing leaves
-
Overwatering: Yellowing leaves are often a sign of overwatering. Ensure that your pot has adequate drainage and allow the soil to dry out between waterings.
-
Nutrient Deficiency: If the plant is not receiving enough nutrients, consider fertilizing.
Root Rot
If you notice mushy stems or brown soft roots, your cutting may have root rot. Ensure to use well-draining soil and pots with drainage holes. Consider repotting the cutting in fresh soil if you suspect root rot.
Leaf Drop
Leaf drop can occur due to sudden changes in temperature, inadequate light, or overwatering. Aim to keep conditions stable to help prevent this.
Conclusion
Propagation of rubber plants is not only a delightful endeavor but also a rewarding one. Whether you choose to propagate using water or soil, the key is to ensure proper care and monitor the conditions in which your cuttings grow.
With patience and attention, you can expand your indoor garden and enjoy the many benefits of growing these beautiful plants. Whether for your enjoyment, as gifts, or to replace a fading plant, propagating a rubber plant can be a fulfilling experience, allowing you to witness the miraculous process of new life unfolding from your efforts. Happy planting!