Alyssum is a stunning flowering plant that can transform any garden into a vibrant spectacle of color and fragrance. With its delicate clusters of small flowers that bloom in shades of white, pink, purple, and yellow, alyssum is a favorite among gardeners looking to add charm and beauty to their outdoor spaces. Growing alyssum from seed is not only easy but also a rewarding experience that can lead to a colorful, enticing garden. This guide will walk you through the simple steps to successfully grow alyssum from seed, ensuring you can enjoy this lovely plant in no time.
Understanding Alyssum
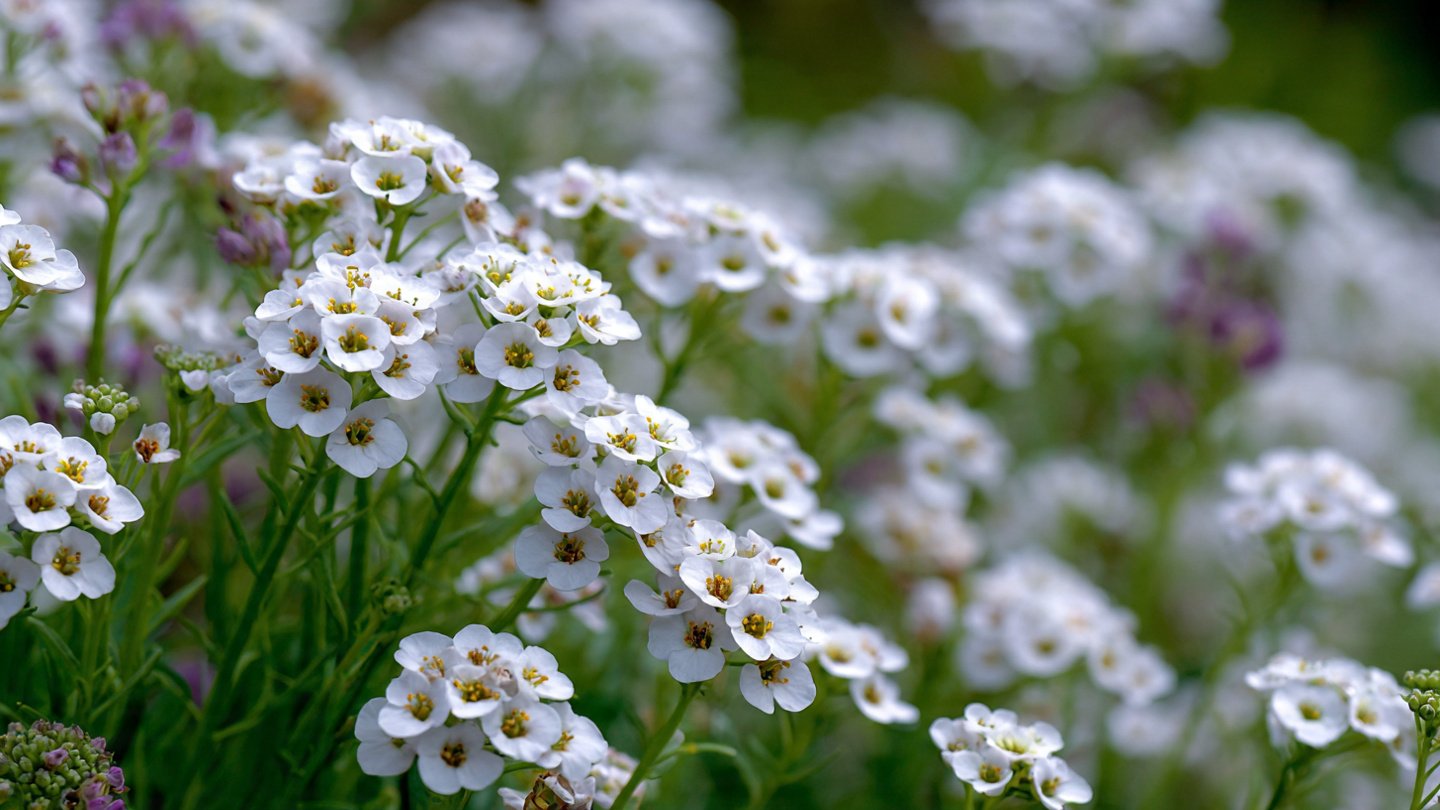
Alyssum belongs to the Brassicaceae family, which includes many vegetables and flowers, and is predominantly native to Europe and North Africa. The two main types commonly grown are Lobularia maritima, often referred to as sweet alyssum, and Alyssum montanum.
Latest Posts
- Easy Steps to Successfully Grow Bhindi in Grow Bags at Home
- Easy Steps to Grow a Healthy Guava Bonsai at Home for Beginners
- How to Successfully Grow and Cultivate White Strawberry Plants at Home for Delicious and Unique Fruits
- Ultimate Guide to Successfully Growing Weeping Fig Outdoors with Proven Techniques and Expert Tips
- How to Successfully Grow Flemish Beauty Pear Trees in Canada for Optimal Harvest
- Easy Hack to Grow Strawberries Year Round in Your Home Garden for Delicious Harvests
- Growing Flemish Beauty Pears in Canada A Complete Guide for Local Gardens
- The Ultimate Guide to Growing Hibiscus Plants Year Round for Vibrant Blooms and Healthy Foliage
- Easy Ways to Boost the Growth Rate of Your Indoor Peace Lily for Lush Green Foliage
- How to Successfully Grow Oak Leaf Lettuce in Your Home Garden for Fresh and Flavorful Salads
Sweet alyssum is particularly known for its aromatic blossoms and is often used as ground cover or in window boxes, containers, and hanging baskets. Meanwhile, Alyssum montanum can reach a bit taller and has a more upright habit, making it suitable for borders.
Why Grow Alyssum?
There are several compelling reasons to consider growing alyssum in your garden:
- Easy to Grow: Alyssum seedlings are hardy and resilient, making them perfect for new gardeners.
- Attracts Pollinators: The sweet flowers attract bees and butterflies, helping to support local wildlife.
- Versatile: Alyssum can thrive in a variety of soil types and conditions, including containers, borders, and rock gardens.
- Long Blooming Period: From spring through to fall, alyssum provides continuous blooms, enhancing your garden’s aesthetic.
- Fragrant Blooms: The sweet scent of the flowers adds an aromatic quality to your garden space.

Getting Started: What You Need
Before you embark on growing alyssum from seed, gather the necessary materials:
- Seeds: Choose a variety of alyssum suitable for your garden. Sweet alyssum is a popular choice for its fragrant blooms.
- Container or Seed Tray: If starting indoors, use a seed/planting tray or any shallow container with drainage holes.
- Seed-Starting Mix: A light, well-draining soil mix aids germination.
- Watering Can or Spray Bottle: For watering the seeds gently.
- Plastic Wrap or Humidity Dome: To create a humid micro-environment for germination.
- Labels: Label your trays or pots with the seed type and date planted to keep track of your progress.
Step-by-Step Guide to Growing Alyssum from Seed

Step 1: Timing Your Planting
Alyssum can be sown directly in the garden after the last frost date or started indoors. If you live in a region with a shorter growing season, starting indoors will give you a head start. Generally, sow seeds indoors 6-8 weeks before the last frost, or sow directly in the garden after the danger of frost has passed.
Step 2: Preparing the Soil
For indoor sowing, fill your container or seed tray with the seed-starting mix. This light mix allows for proper drainage and aeration, which are vital for seed germination. Moisten the soil before planting, but ensure it is not waterlogged.
Step 3: Sowing the Seeds
Alyssum seeds are tiny, making them easy to scatter. Here’s how to sow them:
- Scatter the Seeds: Evenly distribute the seeds over the surface of the soil. You can press them down lightly, but they don’t need to be covered deeply. A thin layer of soil is sufficient, as they require light for germination.
- Water Gently: Using a spray bottle or light watering can, mist the soil to moisten it without washing away the seeds.
Step 4: Creating a Humid Environment
To promote germination, cover the seed tray with plastic wrap or a humidity dome. This helps retain moisture and warmth. Place the tray in a warm, well-lit area but avoid direct sunlight, which can overheat the seeds.

Step 5: Germination
Alyssum seeds typically germinate in 7 to 14 days. Check daily to keep the soil moist. Once you see the first signs of green, remove the plastic cover to allow for air circulation and prevent mold growth.
Step 6: Transplanting
When your seedlings reach about 2-3 inches in height and have developed a couple of true leaves, it’s time to transplant. If you started indoors, gradually acclimate your seedlings to outdoor conditions over a week. This process, known as hardening off, helps them adjust to direct sunlight and wind:
- Choose a Planting Site: Select a location with full sun to partial shade and well-draining soil. Alyssum thrives in varied conditions, from rocky slopes to garden beds.
- Prepare the Site: Loosen the soil and amend it with organic matter, such as compost, if needed.
- Transplant: Dig small holes spaced about 6 to 12 inches apart, depending on the variety. Gently remove the seedlings from their containers, handling them by the leaves (not the stem) to avoid damage, and transplant them into the holes. Fill in around the roots with soil and water thoroughly.
Step 7: Care and Maintenance
Once established, alyssum requires minimal care:

- Watering: Keep the soil consistently moist but not waterlogged. Water more frequently during dry spells.
- Fertilization: Alyssum does not need heavy fertilization. A light application of a balanced fertilizer in spring can promote healthier growth and flowering.
- Deadheading: Regularly remove spent flowers to encourage new blooms and prolong the flowering season.
- Pest Management: Watch for pests like aphids and whiteflies. A gentle spray of water can dislodge them, or use insecticidal soap if necessary.
Step 8: Enjoying the Blooms
Within a few weeks of transplanting, you’ll likely see your alyssum plants begin to bloom. As they grow, enjoy arranging them in borders, containers, or as ground cover. The sweet fragrance and colorful blooms will enhance your garden, attracting pollinators and giving your space a lively, inviting atmosphere.
Troubleshooting Common Issues
1. Poor Germination
If your seeds don’t germinate, check:
- Soil Moistened Correctly: Ensure the soil was kept consistently moist but not soaked.
- Temperature: Alyssum seeds prefer warmth; if it’s too cold, germination can be delayed.
- Seed Quality: Use fresh seeds from reputable sources for best results.

2. Leggy Seedlings
If seedlings grow tall and spindly, they are likely not getting enough light. Move them to a brighter location or use grow lights if indoors.
3. Wilting Plants
Wilting can indicate overwatering or underwatering. Check the soil moisture level, and adjust your watering accordingly.
Conclusion
Growing alyssum from seed is a delightful process that offers both novice and experienced gardeners a fantastic opportunity to enhance their gardens. With colorful blooms, a delightful fragrance, and the ease of care, alyssum is a worthwhile addition to any floral ensemble. By following these simple steps—from seed selection to transplanting and maintenance—you can create a lush, vibrant garden that thrives throughout the seasons. Happy gardening!