Ginger (Zingiber officinale) is a popular and versatile spice known for its pungent aroma, distinctive flavor, and numerous medicinal properties. Beyond its culinary and health benefits, ginger is also a fascinating plant to grow at home. Propagating ginger indoors from rhizomes is a rewarding gardening project that allows you to have fresh ginger on hand year-round. This article provides a comprehensive step-by-step guide on how to propagate ginger rhizome indoors, from selecting the right rhizomes to nurturing the new plants for successful growth.
Why Grow Ginger Indoors?
Growing ginger indoors offers several advantages:
Latest Posts
- Easy Steps to Successfully Grow Bhindi in Grow Bags at Home
- Easy Steps to Grow a Healthy Guava Bonsai at Home for Beginners
- How to Successfully Grow and Cultivate White Strawberry Plants at Home for Delicious and Unique Fruits
- Ultimate Guide to Successfully Growing Weeping Fig Outdoors with Proven Techniques and Expert Tips
- How to Successfully Grow Flemish Beauty Pear Trees in Canada for Optimal Harvest
- Easy Hack to Grow Strawberries Year Round in Your Home Garden for Delicious Harvests
- Growing Flemish Beauty Pears in Canada A Complete Guide for Local Gardens
- The Ultimate Guide to Growing Hibiscus Plants Year Round for Vibrant Blooms and Healthy Foliage
- Easy Ways to Boost the Growth Rate of Your Indoor Peace Lily for Lush Green Foliage
- How to Successfully Grow Oak Leaf Lettuce in Your Home Garden for Fresh and Flavorful Salads
- Year-round availability: You can grow ginger regardless of the outdoor climate.
- Control over environment: Indoor cultivation allows better control over temperature, light, and humidity.
- Pest management: Reduced risk of pests and diseases compared to outdoor gardens.
- Convenience: Having fresh ginger at arm’s length for cooking and health remedies.
Understanding Ginger Rhizomes
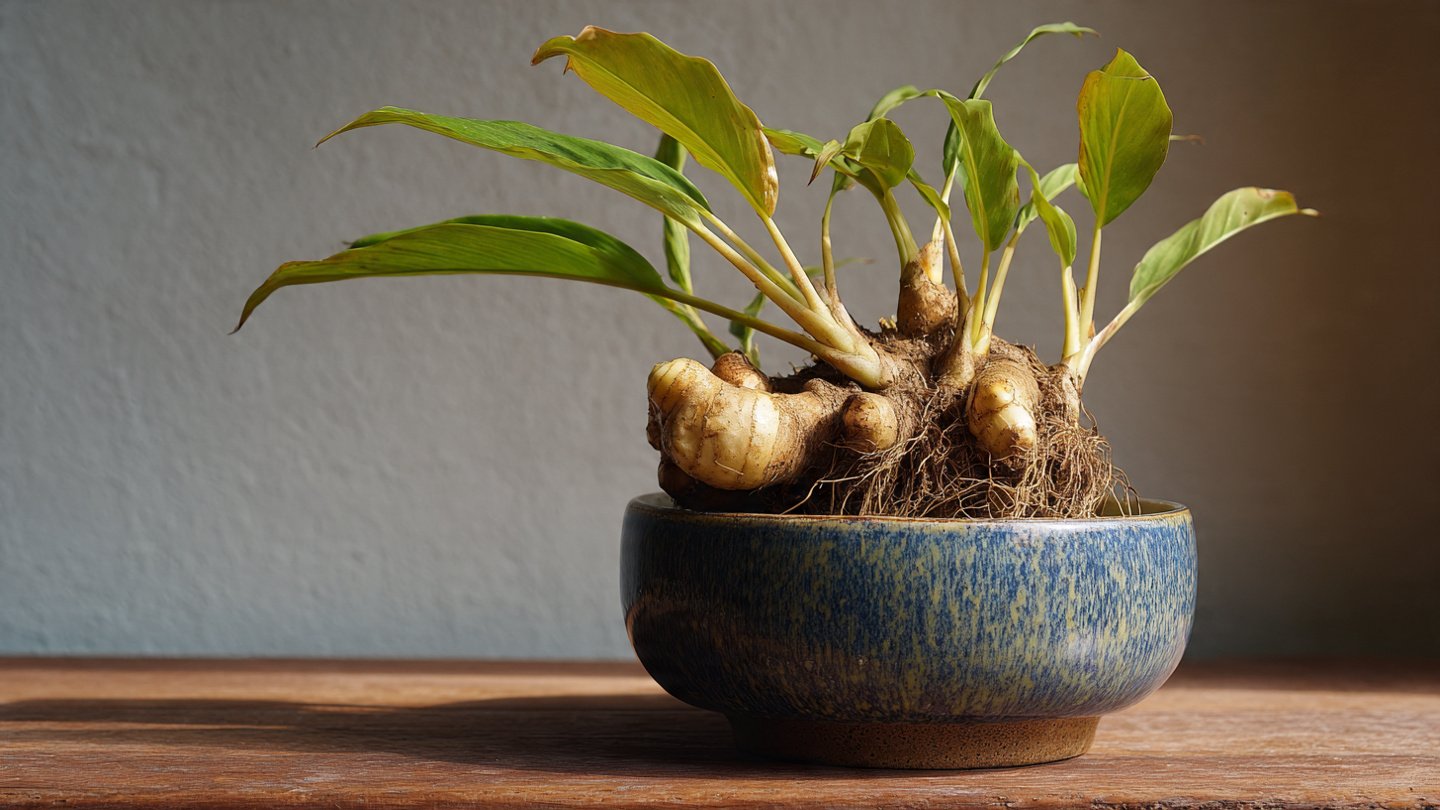
Ginger plants grow from rhizomes, which are horizontal underground stems that produce roots and shoots. When you buy ginger for cooking, the knobby, yellowish-brown ginger roots are actually rhizomes. These rhizomes can be propagated to grow new ginger plants. Each piece of ginger rhizome contains buds or “eyes” that sprout new shoots.

Step 1: Selecting the Ginger Rhizome
To propagate ginger successfully, start with a fresh, healthy rhizome:
- Choose plump, firm rhizomes with visible eyes or growth buds.
- Avoid shriveled, dry, or moldy pieces.
- Organic ginger rhizomes from a nursery or garden center are preferred since supermarket ginger may be treated with growth inhibitors.
- If using supermarket ginger, soak it in warm water overnight to encourage sprouting.
Step 2: Preparing the Ginger Rhizome for Planting
Once you have the rhizome, prepare it for propagation:
- Cut the rhizome into sections about 1-2 inches long, ensuring each piece has at least one or two eyes.
- Allow the cut pieces to dry for a day or two in a warm place to let the cut surfaces callous over. This helps prevent rot when planted.

Step 3: Choosing the Right Container and Soil
- Container: Use a wide, shallow pot with drainage holes. Ginger rhizomes grow horizontally, so a wider pot is preferable.
- Soil: Use rich, well-draining potting mix with plenty of organic matter. A mix of garden soil, compost, and sand or perlite works well.
- Ensure the soil is moist but not waterlogged.
Step 4: Planting the Ginger Rhizome
- Fill the pot with soil, leaving a few inches at the top.
- Place the ginger rhizome pieces with buds facing upward about 1-2 inches below the soil surface.
- Cover with soil and gently firm it to remove air pockets.
- Water lightly to moisten the soil.
Step 5: Creating a Suitable Growing Environment
Ginger thrives in warm, humid conditions with indirect light:

- Temperature: Maintain indoor temperatures between 70-85°F (21-29°C).
- Light: Place the pot in a bright spot with filtered sunlight or partial shade. Avoid direct sunlight, which can scorch the shoots.
- Humidity: Ginger prefers high humidity. Increase humidity by misting the plant regularly or placing a humidifier nearby.
- Watering: Keep the soil consistently moist but not soggy. Water when the top inch of soil feels dry.
Step 6: Encouraging Germination and Growth
- Sprouts typically appear in 2-4 weeks under ideal conditions.
- Be patient—ginger has a slow growth rate compared to many other plants.
- Fertilize lightly with a balanced liquid fertilizer every 4-6 weeks to encourage healthy growth.
Step 7: Caring for the Growing Ginger Plant
As the ginger plant grows:
- Continue to water regularly and maintain humidity.
- Fertilize monthly during the growing season with an organic fertilizer.
- Remove any dead or yellowing leaves to promote air circulation.
- If the plant outgrows its pot, transplant it into a larger container with fresh soil.

Step 8: Harvesting Your Ginger
- Ginger can be harvested after 8-10 months when the leaves start to yellow and die back.
- Gently dig around the plant to harvest mature rhizomes.
- You can also harvest young ginger earlier (around 4-6 months) if you prefer milder flavor and tender rhizomes.
- Leave some rhizomes in the soil to allow the plant to continue growing.
Tips for Successful Indoor Ginger Propagation
- Avoid overwatering—excess moisture can cause rhizome rot.
- Use a well-draining potting mix to prevent waterlogging.
- Maintain adequate warmth and humidity, especially in dry or cold indoor environments.
- Choose pest-free and disease-free rhizomes as starting material.
- Be patient, as ginger grows slowly and may take several weeks to sprout.

Troubleshooting Common Problems
- No sprouts: The rhizome may be old, dormant, or kept too cold. Try soaking the rhizome in warm water for 24 hours before planting.
- Yellow leaves: Overwatering or poor drainage; reduce watering and improve drainage.
- Rotting rhizome: Caused by excessive moisture or fungal infection; remove affected parts and repot in fresh soil.
- Slow growth: Lack of warmth or light; move the plant to a warmer, brighter location.
Conclusion
Propagating ginger rhizomes indoors is a simple and gratifying way to grow fresh ginger year-round. By following these step-by-step instructions—selecting quality rhizomes, preparing the planting medium, creating ideal growing conditions, and providing ongoing care—you can successfully sprout ginger and enjoy the benefits of homegrown rhizomes. Whether you use it for cooking, health remedies, or growing a beautiful indoor plant, ginger propagation is a rewarding gardening endeavor for both novice and experienced gardeners alike. Happy growing!