Creating a lush privet hedge can enhance the beauty and privacy of your landscape. Privet (Ligustrum) is a popular choice among gardeners due to its adaptability, fast growth, and dense foliage. This article will provide effective strategies to grow a thriving privet hedge, offering a comprehensive step-by-step guide along with a FAQs section at the end.
Understanding Privet Hedges
Before diving into the growth strategies, it’s essential to understand what privet hedges are and why they are so favored:
- Types: Common types of privet include Japanese privet (Ligustrum japonicum) and European privet (Ligustrum vulgare).
- Benefits: Prized for their rapid growth, low maintenance, and ability to provide privacy and sound insulation.
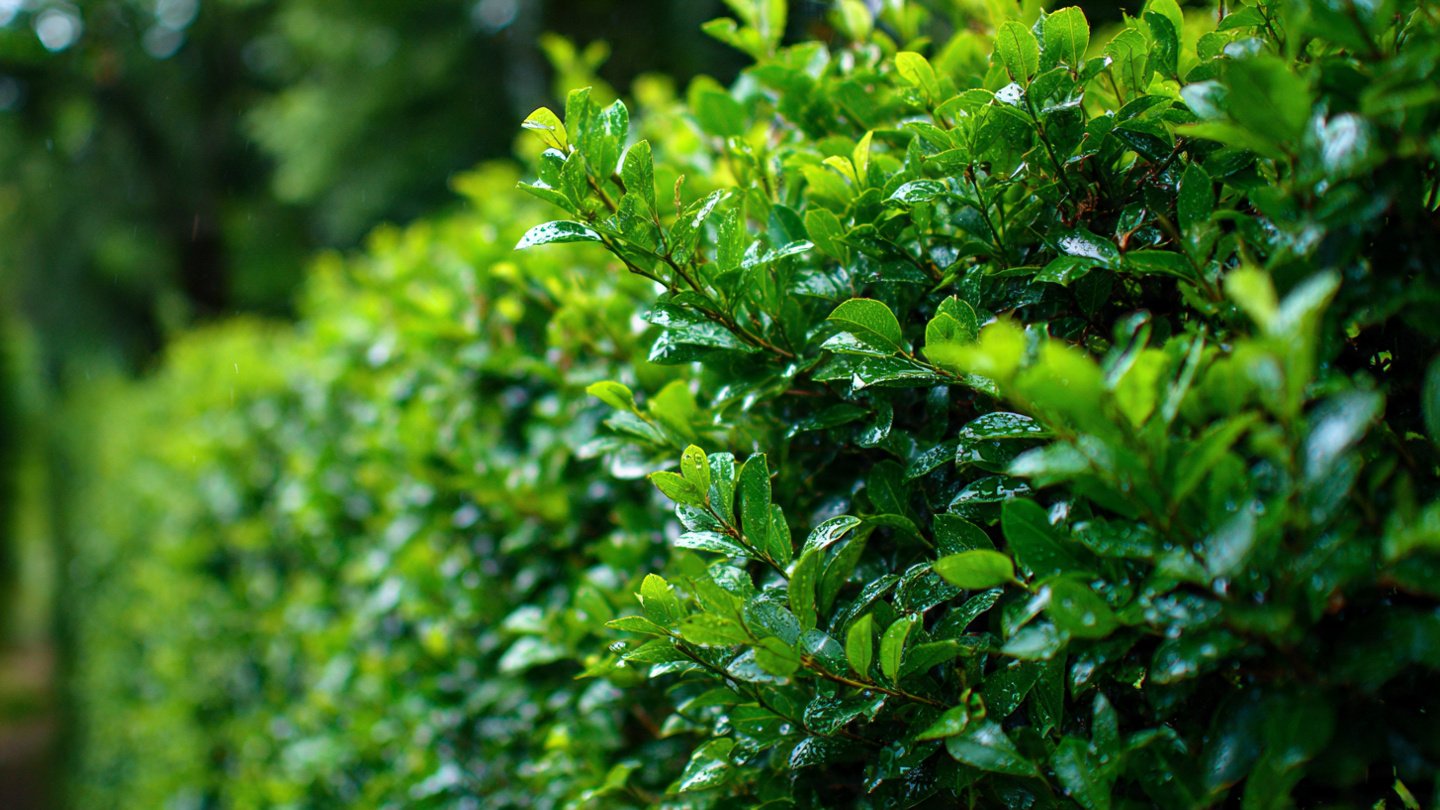
- Appearance: They feature glossy green leaves and can be pruned easily to create specific shapes and heights.
Step-by-Step Guide to Growing a Lush Privet Hedge
Step 1: Selecting the Right Variety
Choosing the right type of privet is paramount. Here’s how to make that decision:

- Assess Your Climate: Identify the hardiness zone of your area. For example, Japanese privet thrives in USDA zones 7-10 while European privet is suited to zones 4-8.
- Purpose of Hedge: Decide if your hedge’s main purpose is for privacy, decoration, or wildlife habitat to select the appropriate cultivar.
Step 2: Choosing the Right Location
The location for planting your privet hedge plays a significant role in its growth:
- Sunlight: Privets thrive best in full sun but can tolerate partial shade. Ensure the selected spot gets at least six hours of sunlight daily.
- Soil: They are adaptable to various soil types but prefer well-draining, loamy soil. Conduct a soil test to ensure the pH is suitable (between 6.0 and 7.0).
- Space for Growth: Ensure the area has enough space for the privet hedge to grow fully mature. Plants should be spaced 3-4 feet apart for proper growth.
Step 3: Preparation of Soil
Preparing your soil correctly is crucial for establishing a healthy hedge:
Latest Posts
- Easy Steps to Successfully Grow Bhindi in Grow Bags at Home
- Easy Steps to Grow a Healthy Guava Bonsai at Home for Beginners
- How to Successfully Grow and Cultivate White Strawberry Plants at Home for Delicious and Unique Fruits
- Ultimate Guide to Successfully Growing Weeping Fig Outdoors with Proven Techniques and Expert Tips
- How to Successfully Grow Flemish Beauty Pear Trees in Canada for Optimal Harvest
- Easy Hack to Grow Strawberries Year Round in Your Home Garden for Delicious Harvests
- Growing Flemish Beauty Pears in Canada A Complete Guide for Local Gardens
- The Ultimate Guide to Growing Hibiscus Plants Year Round for Vibrant Blooms and Healthy Foliage
- Easy Ways to Boost the Growth Rate of Your Indoor Peace Lily for Lush Green Foliage
- How to Successfully Grow Oak Leaf Lettuce in Your Home Garden for Fresh and Flavorful Salads
- Clear the Area: Remove any existing grass, weeds, or debris that may compete with the new plants.
- Soil Amendments: If necessary, amend your soil with compost to improve nutrient content and drainage.
- Tilling: Loosen the soil with a garden fork or tiller to a depth of at least 12 inches.
Step 4: Planting
Once you have your soil prepped and location chosen, it’s time to plant:

- Timing: The best time to plant privet is in the spring or fall when the weather is mild.
- Digging Holes: Dig holes twice as wide and as deep as the root ball, spacing them correctly.
- Planting: Place each privet in the hole, ensuring the top of the root ball is level with the surrounding soil. Fill in gently with soil.
- Watering: Water the plants thoroughly after planting to settle the soil and provide moisture.
Step 5: Initial Care
The first few weeks after planting are critical for your privet hedge:
- Watering Routine: Keep the soil consistently moist but not soggy during the first month. Water at least once a week.
- Mulching: Apply a 2-3 inch layer of mulch around the base of the plants to retain moisture and suppress weeds.
Step 6: Regular Maintenance
To ensure your privet hedge remains healthy and lush, implement regular maintenance:
- Pruning:
- Timing: Prune in late winter or early spring before new growth begins.
- Method: Trim back the hedge to encourage bushy growth and remove any dead or diseased wood.
- Fertilizing: Use a balanced, slow-release fertilizer in early spring to promote growth. Follow the manufacturer’s instructions for application rates.
- Pest Management: Regularly check the hedge for signs of pests or diseases, such as leaf spots or aphids. Use organic pesticides or insecticidal soap as required.
Step 7: Promoting Growth
To encourage a thick and lush hedge, consider the following:

- Regular Watering: Once established, privet hedges require less frequent watering. However, in extreme drought conditions, regular watering may be needed.
- Encourage Dense Growth: Through proper pruning, you can shape the hedge to promote denser foliage and growth.
- Interplanting: Consider interplanting with flower species that attract pollinators to enhance biodiversity around your hedge.
Step 8: Preparing for Seasonal Changes
Proper seasonal care is essential for maintaining your hedge:
- Fall Preparation: In the fall, apply a layer of mulch to protect the roots during winter.
- Winter Care: Insulate the base of the privet hedge with burlap if vulnerable to extreme cold or heavy snow.
Frequently Asked Questions (FAQs)
Q1: How fast do privet hedges grow?
Privet hedges can grow quite rapidly, averaging 2-3 feet per year under optimal conditions.
Q2: What can I do if my privet hedge is not growing well?
Check for signs of poor soil quality, pests, or inadequate sunlight. Adjusting care, such as improving soil quality, watering, and fertilizing, can often enhance growth.

Q3: Can privet hedges be shaped into desired forms?
Yes, privet hedges respond well to trimming and shaping. Regular pruning allows you to maintain the desired shape and height.
Q4: Are privet hedges safe for pets?
Most privet varieties are not toxic to pets, but it’s always wise to monitor them around any plants to prevent unwanted chewing.
Q5: How often should I prune my privet hedge?
Regular pruning should be done once or twice per season, depending on the growth rate and desired appearance.

Q6: Do privet hedges attract wildlife?
Yes, they can provide excellent nesting sites for birds and are appealing to pollinators, particularly when flowering.
Conclusion
Growing a lush privet hedge involves careful planning and maintenance. By following this step-by-step guide, you can create a thriving hedge that enhances your landscape, provides privacy, and contributes to the overall biodiversity of your garden. With the right care and dedication, your privet hedge can become a beautiful, lush focal point for years to come.