Growing pear trees from seed can be a rewarding venture, especially for gardening enthusiasts who appreciate the journey from seed to fruit. However, cultivating pear trees in cold regions presents unique challenges. This guide will explore the best techniques for successfully growing pear trees from seed in these environments, catering to both beginners and experts alike.
Understanding Pear Varieties
Before you begin the process of growing pear trees from seed, it’s essential to understand the different varieties of pears, as this will help you select the most suitable type for your cold climate.
Latest Posts
- Easy Steps to Successfully Grow Bhindi in Grow Bags at Home
- Easy Steps to Grow a Healthy Guava Bonsai at Home for Beginners
- How to Successfully Grow and Cultivate White Strawberry Plants at Home for Delicious and Unique Fruits
- Ultimate Guide to Successfully Growing Weeping Fig Outdoors with Proven Techniques and Expert Tips
- How to Successfully Grow Flemish Beauty Pear Trees in Canada for Optimal Harvest
- Easy Hack to Grow Strawberries Year Round in Your Home Garden for Delicious Harvests
- Growing Flemish Beauty Pears in Canada A Complete Guide for Local Gardens
- The Ultimate Guide to Growing Hibiscus Plants Year Round for Vibrant Blooms and Healthy Foliage
- Easy Ways to Boost the Growth Rate of Your Indoor Peace Lily for Lush Green Foliage
- How to Successfully Grow Oak Leaf Lettuce in Your Home Garden for Fresh and Flavorful Salads
-
European Pears (Pyrus communis): These are commonly found in grocery stores and are ideal for colder climates. Varieties include ‘Bartlett’, ‘Anjou’, and ‘Bosc’.
-
Asian Pears (Pyrus pyrifolia): These are more resistant to pests and can handle cold climates. Varieties like ‘Shinseiki’ and ‘Kikusui’ are popular.
-
Hybrid Varieties: Some cultivars have been bred specifically for cold tolerance, offering better yields in icy conditions.
Choosing the Right Seeds
Once you’ve determined the right variety, acquiring high-quality seeds is crucial. You can collect seeds from your favorite pears or purchase them from a reputable nursery. If you choose to collect seeds, make sure they come from ripe, healthy fruit.
Stratification: Cold Pre-Treatment
Stratification is a process that mimics the natural winter conditions seeds experience outdoors, allowing them to germinate successfully once spring arrives. Here’s how to stratify pear seeds:
-
Seed Preparation: Clean the seeds by removing any pulp from the fruit. Place them in a bowl of water for a few hours to help with the cleaning process.

-
Drying the Seeds: After washing, let the seeds dry at room temperature.
-
Moist Storage: Place the clean seeds in a damp paper towel, wrap them, and put them in a plastic bag or container. Store this in your refrigerator (not freezer) for around 60 to 90 days. This chilled environment mimics winter.
Sowing Seeds
After the stratification period, you can proceed to sow your seeds:
-
Choosing a Container: Use seed trays or pots with drainage holes. Ensure the container is clean to prevent disease.
-
Soil Type: A well-draining soil mix is essential. You can create a mix of potting soil, perlite, and sand for optimal drainage.
-
Sowing Depth: Plant the seeds about ½ inch deep in the soil. Cover lightly and water gently. Make sure the soil is moist, but not soggy.
-
Light Requirements: Place the containers in a sunny spot, or use grow lights. Pear seeds require plenty of light for healthy germination.
Germination Care
-
Watering: Keep the soil consistently moist but not waterlogged. Overwatering can lead to root rot.
-
Temperature Control: Pear seeds germinate best at temperatures between 65-75°F (18-24°C). If you’re in a cold region, consider using a heat mat underneath your containers.
-
Fertilization: After the seeds sprout and develop a couple of leaves, use a diluted liquid fertilizer every two weeks to encourage growth.

Transplanting Seedlings
After successfully germinating your seeds, it’s time to think about transplanting.
-
Timing: Wait until your seedlings have at least four to six leaves before transplanting them outdoors. This usually occurs in late spring when the danger of frost has passed.
-
Choosing the Right Location: Select a sunny location with well-draining soil. Avoid areas where water tends to collect.
-
Transplanting Process:
- Dig a hole approximately twice the size of the seedling’s root ball.
- Gently remove the seedling from the container, taking care not to damage the roots.
- Place the seedling in the hole and backfill with soil, pressing gently to eliminate air pockets.
- Water thoroughly after transplanting to help establish the roots.
Ongoing Care and Maintenance
Successfully growing pear trees requires continuous care:

-
Watering: Water regularly, especially during dry spells, but avoid overwatering. A deep watering once a week is usually sufficient.
-
Mulching: Applying mulch around the base of the trees helps retain moisture and regulates soil temperature.
-
Fertilization: In the early years, a balanced fertilizer helps promote growth, especially in the spring.
-
Pruning: Prune young trees to develop a good shape and remove any dead or diseased branches.
-
Pest and Disease Control: Keep an eye out for common pests such as aphids, pear psylla, and diseases like fire blight. Regular inspections and organic treatments can be very effective.
Preparing for Winter
In cold regions, protecting young pear trees during winter is critical:
-
Mulching: Apply mulch around the base to insulate the roots.
-
Wrapping: Consider wrapping the trunk with burlap or tree wrap to protect against frost and animal damage.
-
Watering: Ensure the tree is adequately hydrated before the ground freezes, as established trees can survive better during the winter months.

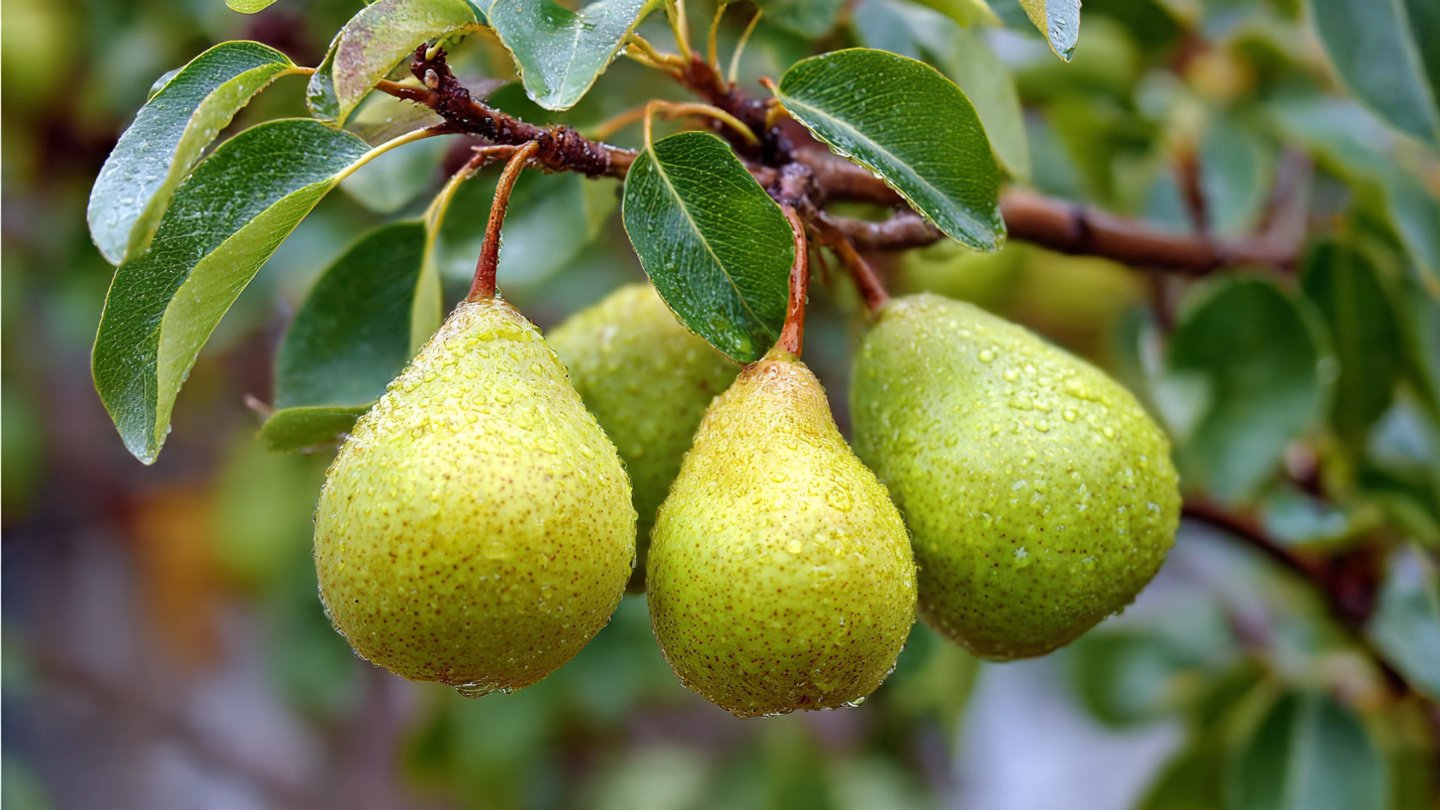
Harvesting Pears
Once your pear trees begin producing fruit, patience is essential. Most pear varieties take about 3-6 years before bearing fruit. Here are tips for harvesting:
-
Timing: Pick pears when they start to change color and feel slightly soft near the stem. Avoid leaving them on the tree too long, which can lead to overripening.
-
Ripening Off the Tree: Most pears ripen best off the tree. Place them in a paper bag at room temperature to speed up the ripening process.
FAQs
1. Can I grow pear trees from store-bought fruit?
Yes, you can! However, consider that not all fruits are open-pollinated. Some may not produce fruit identical to the parent tree.
2. How long does it take for a pear seed to germinate?
Germination typically occurs within 2-4 weeks after stratification.
3. Are there specific diseases to watch for in cold regions?
Yes, conditions like fire blight and powdery mildew can occur. Regular monitoring and proper cultural practices help mitigate these diseases.

4. When is the best time to plant pear seeds?
Start the stratification process in late fall or winter and sow the seeds in spring after the last frost.
5. What should I do if my seedlings are leggy?
Leggy seedlings usually indicate insufficient light. Ensure they receive at least 12-16 hours of light daily, either from sunlight or grow lights.
6. Should I cross-pollinate my pear trees?
In most cases, yes. Planting at least two different varieties can enhance fruit set, as many pear varieties require cross-pollination.
7. What is the best soil pH for growing pear trees?
Pear trees prefer slightly acidic to neutral soils, with a pH between 6.0 and 7.0.
Conclusion
Growing pear trees from seed in cold regions requires a blend of patience, knowledge, and care. By understanding the nature of your chosen pear variety and following these techniques, both beginners and experts can enjoy the fulfilling experience of nurturing these beautiful trees from seed to harvest. With diligence and care, your young pear trees will thrive and eventually offer you sweet, delicious fruits. Happy gardening!