Cultivating fruit trees can be a rewarding and fulfilling hobby, especially when it comes to growing plums. Plum trees not only provide delicious fruit but also contribute beauty to your landscape. However, successfully germinating plum seeds and nurturing them to maturity can be a challenge, particularly in the diverse and sometimes harsh Canadian climates. This guide will walk you through the easy methods to germinate plum seeds and cultivate healthy plum trees, tailored for Canadian gardeners.
Understanding Plum Trees
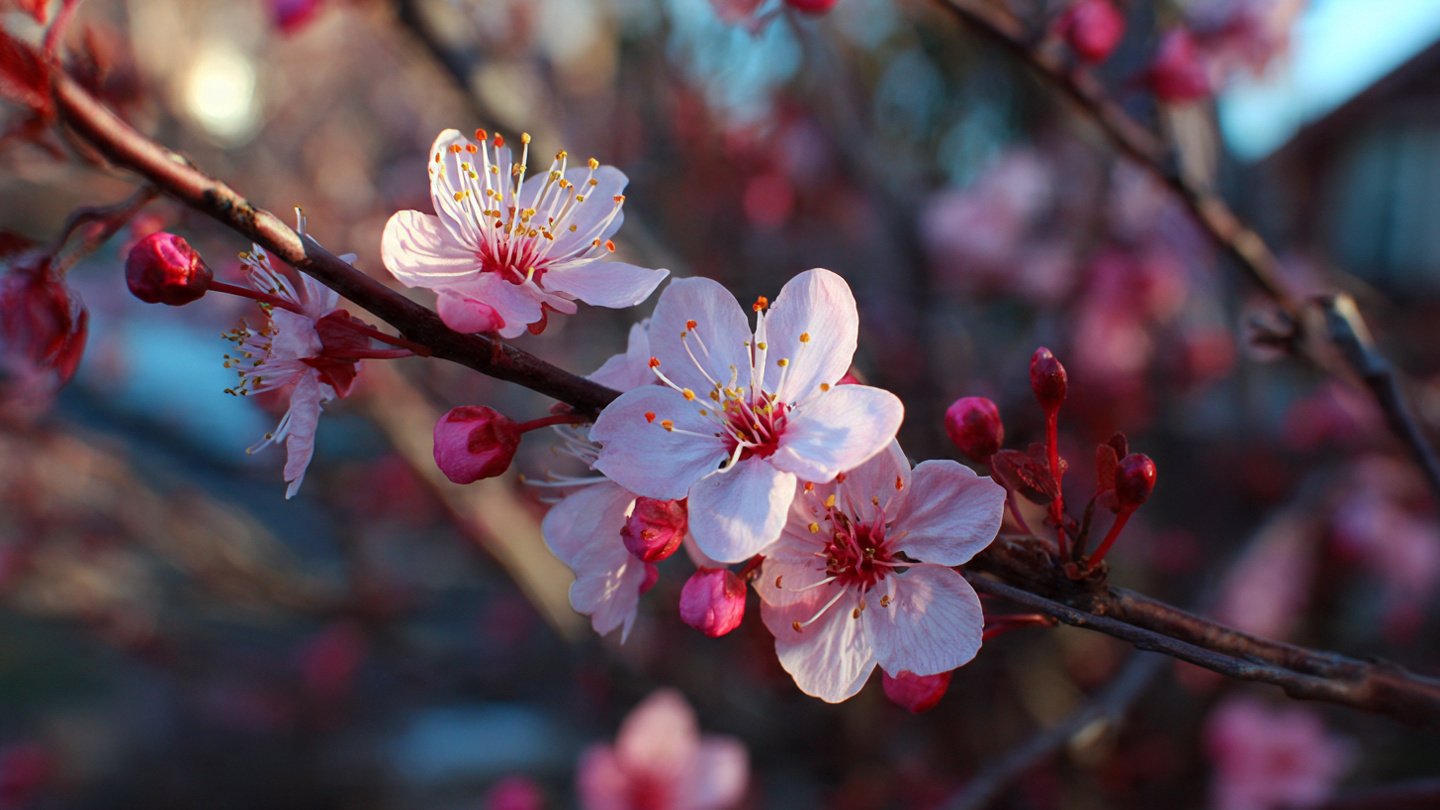
Plum trees belong to the genus Prunus and include several species. The two main types of plums are European plums (Prunus domestica) and Japanese plums (Prunus salicina). European plums are generally more cold-resistant, making them better suited for the Canadian climate. When selecting seeds for germination, consider opting for varieties that thrive in your specific region.
Latest Posts
- Easy Steps to Successfully Grow Bhindi in Grow Bags at Home
- Easy Steps to Grow a Healthy Guava Bonsai at Home for Beginners
- How to Successfully Grow and Cultivate White Strawberry Plants at Home for Delicious and Unique Fruits
- Ultimate Guide to Successfully Growing Weeping Fig Outdoors with Proven Techniques and Expert Tips
- How to Successfully Grow Flemish Beauty Pear Trees in Canada for Optimal Harvest
- Easy Hack to Grow Strawberries Year Round in Your Home Garden for Delicious Harvests
- Growing Flemish Beauty Pears in Canada A Complete Guide for Local Gardens
- The Ultimate Guide to Growing Hibiscus Plants Year Round for Vibrant Blooms and Healthy Foliage
- Easy Ways to Boost the Growth Rate of Your Indoor Peace Lily for Lush Green Foliage
- How to Successfully Grow Oak Leaf Lettuce in Your Home Garden for Fresh and Flavorful Salads
Step 1: Seed Collection
To begin your journey, you need access to ripe plums. You can either gather seeds from store-bought plums or harvest them from your backyard trees if available.
Collecting Seeds from Ripe Plums:
- Choose Ripe Plums: Select fully ripe fruit from healthy trees. Inspect for signs of disease or pest damage.
- Remove the Pits: Cut the plum in half, removing the pit carefully.
- Clean the Seeds: Rinse the seeds under water to remove any remaining fruit pulp, which can lead to mold during germination.
- Dry the Seeds: Place them on a paper towel to dry for a few hours.
Step 2: Stratification

Plum seeds require a cold stratification process to mimic winter conditions and break dormancy.
Stratification Method:
- Prepare a Moist Medium: Use a mixture of sand and peat moss. The medium should be slightly moist—too wet can cause mold, while too dry will prevent germination.
- Mix Seeds with Medium: Combine the seeds with the moist medium in a plastic bag.
- Refrigerate: Place the bag in your refrigerator for about 60 days. This cold treatment mimics natural winter conditions.
Step 3: Germination
After the stratification period, it’s time to germinate the seeds.
Germination Setup:
- Prepare Seed Pots: Use seed trays or small pots with good drainage. Fill them with a standard seed-starting mix.
- Plant Seeds: Plant the stratified seeds about an inch deep in the soil. Space them about 3-4 inches apart.
- Water Generously: Water the planter thoroughly but avoid overwatering. It is crucial to keep the soil moist but not soggy.
- Provide Warmth and Light: Place the pots in a sunny location or under grow lights. Ideal germination temperature is around 20-25°C (68-77°F).
- Cover with Plastic: Use a plastic cover or wrap to maintain humidity, removing it once seedlings begin to emerge.

Step 4: Caring for Seedlings
Once the seedlings have sprouted, your care routine will shift.
Seedling Care:
- Light and Temperature: Ensure they receive 12–16 hours of light daily. If using grow lights, keep them about 6-12 inches above the seedlings.
- Watering: Water when the top of the soil feels dry, being careful not to drown the seedlings.
- Fertilizing: Once seedlings reach a height of 3-4 inches, apply a diluted balanced fertilizer every 2-3 weeks to support healthy growth.
Step 5: Transplanting
After a few months as seedlings, they will be ready for transplanting outdoors.
Preparing for Transplanting:
- Choose the Right Time: Wait until after the last frost, typically late spring in Canada.
- Select an Outdoor Location: Choose a site that receives full sun for at least 6 hours a day and has well-draining soil.
- Harden Off Seedlings: Gradually acclimate the seedlings to outdoor conditions by taking them outside for a few hours each day, increasing the time gradually over a week.
- Transplant: Dig a hole larger than the seedling’s root ball and gently place the seedling, covering the roots with soil.

Step 6: Ongoing Care
Ongoing maintenance is crucial for the health and productivity of your plum trees.
Maintenance Guidelines:
- Watering: Ensure regular watering, especially during dry spells. Let the top inch of soil dry out between watering.
- Fertilization: Apply a balanced fertilizer in early spring as new growth starts.
- Pruning: Prune the tree in late winter to shape and remove any dead or diseased branches.
- Pest and Disease Management: Monitor for pests like aphids or diseases like brown rot. Incorporate organic pest control methods when necessary.
Step 7: Harvesting
With proper care, your plum trees will begin producing fruit within 3-4 years. The fruit is typically ready to harvest in late summer to early fall.
Tips for Harvesting:
- Harvest plums when they are fully ripe; they should be slightly soft and easily detach from their stems.
- Wear gloves to avoid staining from the juice.
- Store harvested plums in a cool place; they can be refrigerated for a week or two.

Best Practices for Successful Cultivation
- Choose Cold-Hardy Varieties: Look for plum varieties that are known to thrive in your specific Canadian climate.
- Create Windbreaks: Consider planting windbreaks near your plum trees if you live in areas with harsh winds.
- Mulching: Apply mulch around the base of the trees to help retain moisture and control weeds.
- Monitor for Pollination: Plant multiple varieties for better pollination and increased fruit yield; plums typically require cross-pollination.
Frequently Asked Questions (FAQs)
1. How long does it take for plum seeds to germinate?
Germination can take anywhere from 2 to 4 weeks after the stratification period, depending on the variety and environmental conditions.
2. Can I grow plums in pots?
Yes, plum trees can be grown in pots, but ensure you choose a dwarf variety and provide adequate space, sunlight, and watering.

3. Do plum trees require pruning?
Yes, pruning is essential to maintain the shape, improve air circulation, and remove dead or diseased wood.
4. How do I know when plums are ready to be harvested?
Plums are ready for harvest when they are slightly soft to the touch, have a rich color, and easily detach from the stem.
5. What is the best soil for growing plums?
Plum trees prefer well-drained, loamy to sandy soil with a pH of 6.0 to 7.0. Soil that retains some moisture but does not become soggy is ideal.
6. How can I protect my plum trees from pests?
Regularly inspect your trees for signs of pests or diseases. Use organic pest control methods and consider introducing beneficial insects, like ladybugs, to help manage pest populations.
Conclusion
Successfully germinating plum seeds and cultivating beautiful fruit trees in Canadian climates requires preparation, patience, and ongoing care. By following the steps outlined in this guide, you can enjoy the process of growing your plums—from seed to harvest. With proper care, your plum trees will not only produce delicious fruit but also enhance the beauty and productivity of your garden for years to come. Happy planting!