Growing your own herbs can be one of the most rewarding experiences for a home gardener, and pudina, also known as mint, is among the easiest and most versatile herbs to grow. Not only does it enhance the flavor of various dishes, but it also brings a refreshing aroma to your home. In this guide, we’ll walk you through the steps necessary for successfully growing pudina in a pot at home, ensuring that you have this delightful herb at your fingertips whenever you need it!
Step 1: Choosing the Right Pot
Size and Material
Latest Posts
- Easy Steps to Successfully Grow Bhindi in Grow Bags at Home
- Easy Steps to Grow a Healthy Guava Bonsai at Home for Beginners
- How to Successfully Grow and Cultivate White Strawberry Plants at Home for Delicious and Unique Fruits
- Ultimate Guide to Successfully Growing Weeping Fig Outdoors with Proven Techniques and Expert Tips
- How to Successfully Grow Flemish Beauty Pear Trees in Canada for Optimal Harvest
- Easy Hack to Grow Strawberries Year Round in Your Home Garden for Delicious Harvests
- Growing Flemish Beauty Pears in Canada A Complete Guide for Local Gardens
- The Ultimate Guide to Growing Hibiscus Plants Year Round for Vibrant Blooms and Healthy Foliage
- Easy Ways to Boost the Growth Rate of Your Indoor Peace Lily for Lush Green Foliage
- How to Successfully Grow Oak Leaf Lettuce in Your Home Garden for Fresh and Flavorful Salads
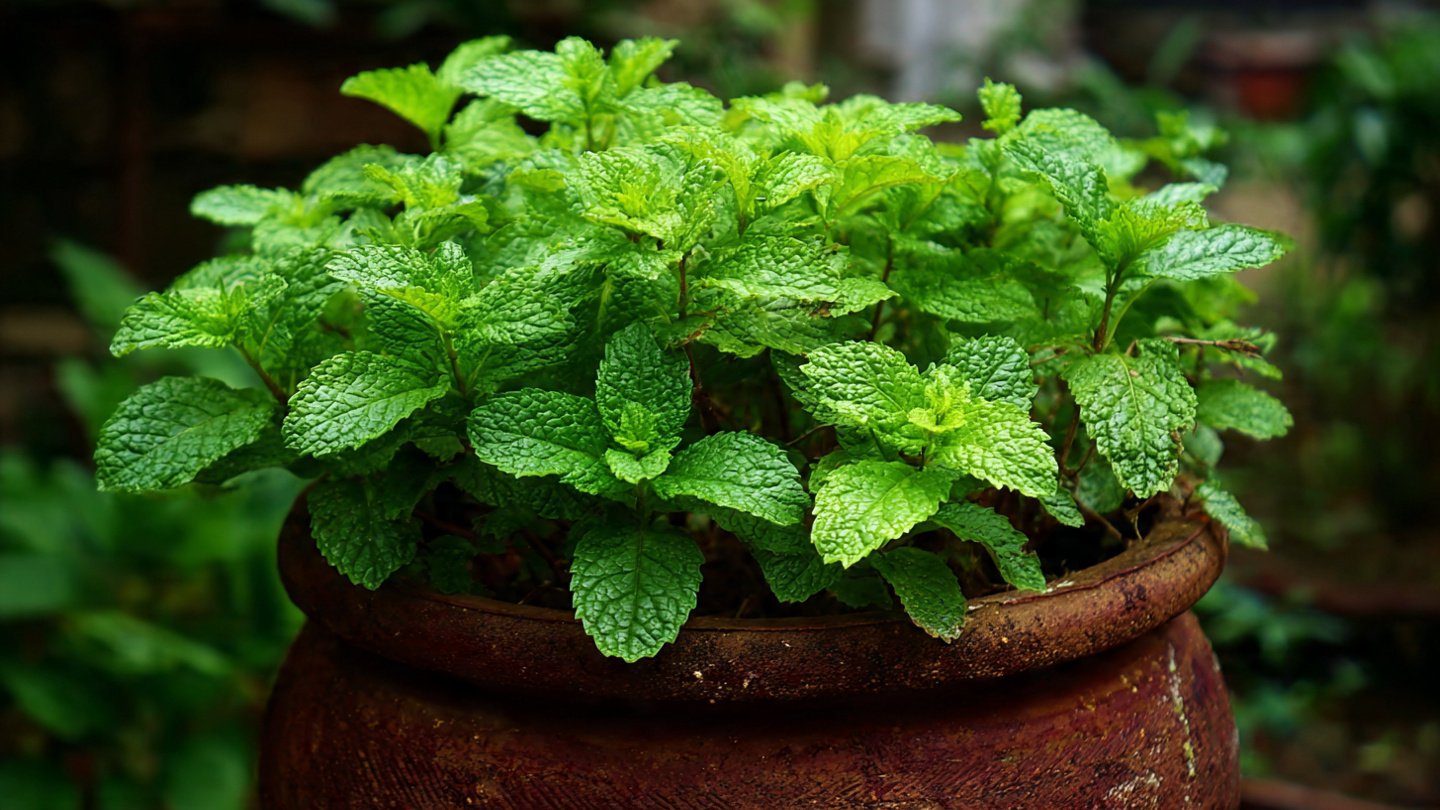
When it comes to growing pudina in a pot, size matters. A pot that is at least 12 inches in diameter is generally recommended. This gives the plant room to spread out its roots. If you choose a smaller pot, the mint may become root-bound, limiting its growth and flavor.
As for material, both plastic and terracotta pots work well. Terracotta pots are porous, allowing for better aeration and moisture management, while plastic pots are lighter and retain moisture more effectively. Choose based on your climate and convenience.
Drainage
Make sure that the pot has drainage holes at the bottom. Mint requires well-draining soil, and excess water should easily escape to prevent root rot.
Step 2: Selecting the Right Soil
Soil Type

Pudina flourishes in well-aerated, moisture-retentive soil. A mix of potting soil and compost is usually ideal. You can also include perlite or sand to improve drainage.
pH Level
Mint prefers slightly acidic to neutral soil with a pH of about 6.0 to 7.0. You can purchase a soil testing kit to check your soil’s pH and amend it accordingly.
Step 3: Choosing the Right Location
Mint thrives in full sun but can also tolerate partial shade. Aim for a location where the plant can get at least 4-6 hours of sunlight per day. A south-facing windowsill is often ideal for indoor pots.
Step 4: Planting Pudina
Seeds or Cuttings
While you can grow pudina from seeds, cuttings are generally preferred for their higher success rate. If you opt for seeds, sow them about ¼ inch deep in the soil.
If starting from cuttings, take a healthy stem from an existing mint plant. Ensure it has several leaves and a length of about 4-6 inches. Remove the lower leaves and dip the cut end in rooting hormone if available. Plant it directly into the prepared potting mix.

Watering
Water the soil thoroughly after planting. Ensure that the soil is consistently moist, but not soggy. Over-watering can lead to root rot, so be cautious.
Step 5: Caring for Your Pudina Plant
Watering Routine
During the growing season, aim to water your pudina regularly. Check the top inch of the soil; if it feels dry, it’s time to water. During hotter months, you may need to water more frequently.
Fertilization
Fertilizing is important for healthy growth. Use a balanced liquid fertilizer every 4-6 weeks during the growing season. Avoid over-fertilizing, as this can lead to lush growth with less flavor.
Pruning
Regular pruning encourages bushier growth and prevents the plant from flowering, which can diminish its flavor. You can begin harvesting leaves once the plant is at least 6-8 inches tall. Simply pinch or snip off the leaves, allowing new shoots to emerge.
Pest Control

Keep an eye out for common pests like aphids and spider mites. If you notice these, use insecticidal soap or neem oil for treatment. Always opt for organic methods to keep your herb safe for culinary use.
Step 6: Harvesting Pudina
Mint is ready for harvest once it has grown sufficiently, usually after about 2-3 months. Use clean, sharp scissors to snip off the leaves. The best time to harvest is in the morning when the oils are most concentrated, giving you maximum flavor.
Storage
Fresh pudina can be stored in the refrigerator wrapped in a damp paper towel and placed in a plastic bag for about a week. You can also freeze it in ice cube trays with water or olive oil for longer storage.
Step 7: Overwintering Your Pudina Plant
If you live in a climate with cold winters, you may need to bring your potted mint indoors during the colder months. Place it in a sunny location and reduce watering frequency. Mint can sometimes lose its leaves in winter but will often bounce back when the weather warms.
Conclusion
Growing pudina in a pot is not only simple, but it’s also a gratifying way to elevate your culinary adventures. With just a bit of knowledge and care, you can enjoy fresh mint year-round, right from your kitchen. So, gather your pot, soil, and cuttings, and get started on your journey to becoming a successful pudina grower!

FAQs
1. How often should I water my pudina plant?
Water your pudina when the top inch of soil feels dry. This usually means watering every few days, especially in warmer months.
2. Can I grow pudina indoors?
Yes, mint can thrive indoors in pots. Just ensure it gets enough sunlight, ideally 4-6 hours a day.
3. How can I prevent my mint from becoming invasive?
Mint can spread rapidly. To control its growth, keep it confined to a single pot and avoid planting it directly in your garden soil.
4. What is the best way to harvest pudina without damaging the plant?
Use clean, sharp scissors to snip off the leaves, taking care not to disturb the main stem. Harvest only about one-third of the plant at a time.
5. Can I use mint in cooking while it’s still growing?

Absolutely! Fresh mint can enhance a variety of dishes. Just make sure to rinse the leaves before use.
6. Why are the leaves on my mint plant turning yellow?
Yellow leaves can indicate overwatering, poor drainage, or nutrient deficiencies. Review your care routine to resolve the issue.
7. Can I propagate pudina from its leaves?
While it’s hard to propagate it directly from leaves, using stem cuttings that have leaves is the most successful method.
8. How can I make mint tea with fresh pudina?
Simply steep fresh mint leaves in boiling water for 5-10 minutes, strain, and enjoy. Sweeten with honey if desired!
By following this guide, you’ll have a thriving pudina plant that will not only beautify your space but also add fresh flavor to your dishes. Happy gardening!