How to Successfully Grow Lobelia from Seed: The Best Method for Lush Blooms
Growing lobelia from seed can be a rewarding endeavor for both seasoned gardeners and novices alike. This colorful, trailing annual or perennial, depending primarily on the variety, adds beautiful splashes of blue, purple, white, or pink to your garden. When grown successfully, lobelia produces lush blooms that will attract pollinators and provide a stunning display throughout the growing season. Here is a detailed guide on how to successfully grow lobelia from seed, ensuring that your garden is adorned with these vibrant beauties.
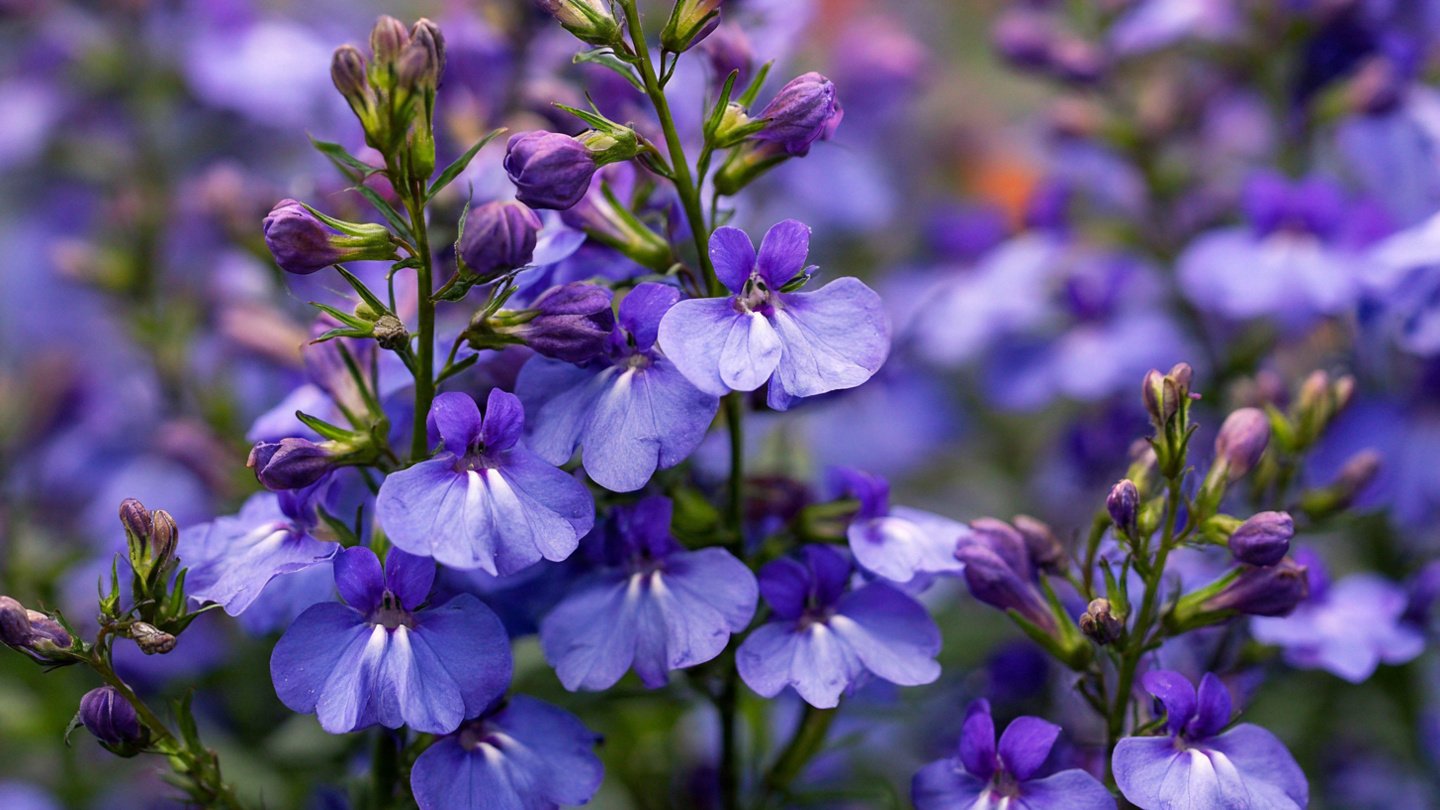
Understanding Lobelia
Before we delve into the specifics of seed sowing and care, it’s essential to understand the different types of lobelia. The most commonly cultivated species include:
Latest Posts
- Easy Steps to Successfully Grow Bhindi in Grow Bags at Home
- Easy Steps to Grow a Healthy Guava Bonsai at Home for Beginners
- How to Successfully Grow and Cultivate White Strawberry Plants at Home for Delicious and Unique Fruits
- Ultimate Guide to Successfully Growing Weeping Fig Outdoors with Proven Techniques and Expert Tips
- How to Successfully Grow Flemish Beauty Pear Trees in Canada for Optimal Harvest
- Easy Hack to Grow Strawberries Year Round in Your Home Garden for Delicious Harvests
- Growing Flemish Beauty Pears in Canada A Complete Guide for Local Gardens
- The Ultimate Guide to Growing Hibiscus Plants Year Round for Vibrant Blooms and Healthy Foliage
- Easy Ways to Boost the Growth Rate of Your Indoor Peace Lily for Lush Green Foliage
- How to Successfully Grow Oak Leaf Lettuce in Your Home Garden for Fresh and Flavorful Salads
- Lobelia erinus: Often used as an annual bedding plant, ideal for hanging baskets or container displays.
- Lobelia siphilitica: A hardy perennial, typically seen in native gardens, known for its upright growth and blue flowers.
- Lobelia tupa: A less common variety, appreciated for its unique red flowers and tall growth habit.
Selecting the right type for your gardening needs is vital. Most gardeners find that Lobelia erinus, with its compact growth and trailing habit, is the most suitable for hanging baskets and mixed containers.
When to Sow Lobelia Seeds
Timing is crucial when growing lobelia from seed. Lobelia seeds require a period of low temperature to germinate effectively—a process known as cold stratification.
-
Indoor Sowing: Start your seeds indoors about 10 to 12 weeks before the last expected frost date in your region. This timing ensures that your lobelia plants will be ready for transplanting outdoors at the appropriate time.

-
Outdoor Sowing: If you’d prefer direct sowing, wait until after the last frost has passed, usually late spring. However, this method may lead to reduced germination rates compared to indoor sowing.
Materials Needed
Before starting the sowing process, gather the following materials:
- Lobelia seeds: Available from garden centers or online.
- Seed trays or pots: Aim for shallow containers to mimic the natural growing conditions of lobelia.
- Seed-starting mix: A fine, sterile mix designed to promote germination. Avoid garden soil as it can harbor diseases.
- Watering can or spray bottle: For gentle watering.
- Plastic cover or plastic wrap: Helps maintain humidity while the seeds germinate.
How to Sow Lobelia Seeds
-
Prepare Containers: Fill your seed trays or pots with the seed-starting mix. Moisten the mix beforehand, ensuring it is damp but not soaking wet.
-
Sowing the Seeds: Lobelia seeds are very tiny, making them somewhat tricky to handle. Instead of planting them directly in the soil, sprinkle them evenly over the surface of the soil. Lightly press them into the mix without covering them, as they require light for germination.

-
Create a Humid Environment: Cover your trays with a plastic wrap or a clear lid to maintain humidity levels. This will help create a mini-greenhouse effect, which is beneficial for germination.
-
Place Warm: Position the trays in a warm spot, ideally between 65°F and 70°F (18°C to 21°C). Some gardeners use heating mats to ensure the right temperature.
Germination Period
Lobelia seeds typically take 7 to 21 days to germinate, but expect a slightly longer period for seeds started indoors. Once you see tiny seedlings emerging, remove the cover to improve airflow and prevent mold.
Caring for Seedlings
After germination, your care routine will significantly influence the health and vibrancy of your lobelia plants.
-
Watering: Keep the soil consistently moist but not soggy. Use a spray bottle or a watering can with a fine rose attachment to avoid displacing the delicate seedlings.
-
Lighting: Provide plenty of bright, indirect sunlight. A south-facing windowsill or fluorescent grow lights can help achieve this. If using grow lights, keep them about 2-3 inches (5-8 cm) above the seedlings and adjust the height as they grow.
-
Thinning: When seedlings develop a set of true leaves, thin them to prevent overcrowding. Aim to remove weaker plants, giving the strongest specimens more space to grow.

-
Fertilizing: Approximately 2-3 weeks after germination, begin fertilizing your seedlings with a diluted liquid fertilizer every 2-4 weeks. Using a balanced, water-soluble fertilizer at half strength will suffice.
Hardening Off
Before transplanting your lobelia outdoors, they must undergo a hardening-off process. This acclimatization helps reduce transplant shock by gradually introducing the seedlings to outdoor conditions.
-
Start Early: About a week or two before you plan to plant them outside, begin the hardening-off process.
-
Gradual Exposure: Start by placing your seedlings outside for a couple of hours each day in a sheltered location, gradually increasing their exposure to sunlight and outdoor conditions over the week.
-
Monitor: Keep an eye on the weather—if strong winds or harsh sunlight are expected, bring them back inside.
Transplanting Lobelia Outdoors
Once the danger of frost has passed, and your seedlings are adequately hardened, it’s time for transplanting.
-
Choose a Suitable Location: Lobelia thrives in well-drained soil and prefers full sun to partial shade, depending on the variety. Before planting, ensure the area is free of weeds and has good air circulation.
-
Spacing: When transplanting, space lobelia plants about 6 to 12 inches apart, depending on their specific variety. This spacing allows room for trailing varieties to spread and create a lush effect.
-
Watering Post-Transplant: Water the newly planted lobelia thoroughly. Continue to keep the soil moist but ensure that it drains well.

Troubleshooting Common Issues
Even with careful planning, you may encounter some challenges when growing lobelia from seed. Here are some common problems and how to address them:
-
Damping Off: This fungal disease, caused by overwatering or poor air circulation, can kill seedlings. Prevent it by ensuring good drainage and airflow around your seedlings, and avoid overwatering.
-
Slow Growth: If your seedlings are stunted, check for sufficient light, water, and nutrients. Adjust your care routine as needed.
-
Leggy Plants: Inadequate light can cause leggy growth. Ensure that your seedlings receive enough light or consider using grow lights.
Maintenance During the Growing Season

After transplanting your lobelia outdoors, maintaining their health and vibrancy will require continued care.
-
Water Regularly: Consistent moisture is key, especially during dry spells. However, avoid waterlogging as lobelia does not like sitting in wet soil.
-
Deadheading: To encourage continuous blooming throughout the season, deadhead any spent flowers. This practice not only keeps your plants looking tidy but also promotes more blooms.
-
Fertilizing: Once a month, apply a diluted solution of a balanced fertilizer to keep the plants nourished.
-
Pest Management: Regularly inspect your plants for pests such as aphids or snails. If you spot them, treat them promptly with insecticidal soap or other eco-friendly solutions.
Conclusion
Growing lobelia from seed can transform your garden into a vibrant oasis of color, attracting pollinators and providing lush blooms throughout the growing season. By following the steps outlined in this guide, from seed selection and sowing to transplanting and ongoing care, you can achieve lush, thriving lobelia plants that add life and beauty to your outdoor spaces. Happy gardening!