Introduction
Spider plants, known scientifically as Chlorophytum comosum, are a popular choice for both novice and experienced gardeners alike. Their unique shape, easy-care nature, and air-purifying qualities make them an attractive addition to any home. Among the various varieties of spider plants, the curly spider plant stands out with its stunningly twisted leaves. In this article, you’ll discover an ultimate easy hack to cultivate a healthy, beautiful curly spider plant at home, along with an informative FAQ section at the end.
Why Choose a Curly Spider Plant?
Latest Posts
- Easy Steps to Successfully Grow Bhindi in Grow Bags at Home
- Easy Steps to Grow a Healthy Guava Bonsai at Home for Beginners
- How to Successfully Grow and Cultivate White Strawberry Plants at Home for Delicious and Unique Fruits
- Ultimate Guide to Successfully Growing Weeping Fig Outdoors with Proven Techniques and Expert Tips
- How to Successfully Grow Flemish Beauty Pear Trees in Canada for Optimal Harvest
- Easy Hack to Grow Strawberries Year Round in Your Home Garden for Delicious Harvests
- Growing Flemish Beauty Pears in Canada A Complete Guide for Local Gardens
- The Ultimate Guide to Growing Hibiscus Plants Year Round for Vibrant Blooms and Healthy Foliage
- Easy Ways to Boost the Growth Rate of Your Indoor Peace Lily for Lush Green Foliage
- How to Successfully Grow Oak Leaf Lettuce in Your Home Garden for Fresh and Flavorful Salads
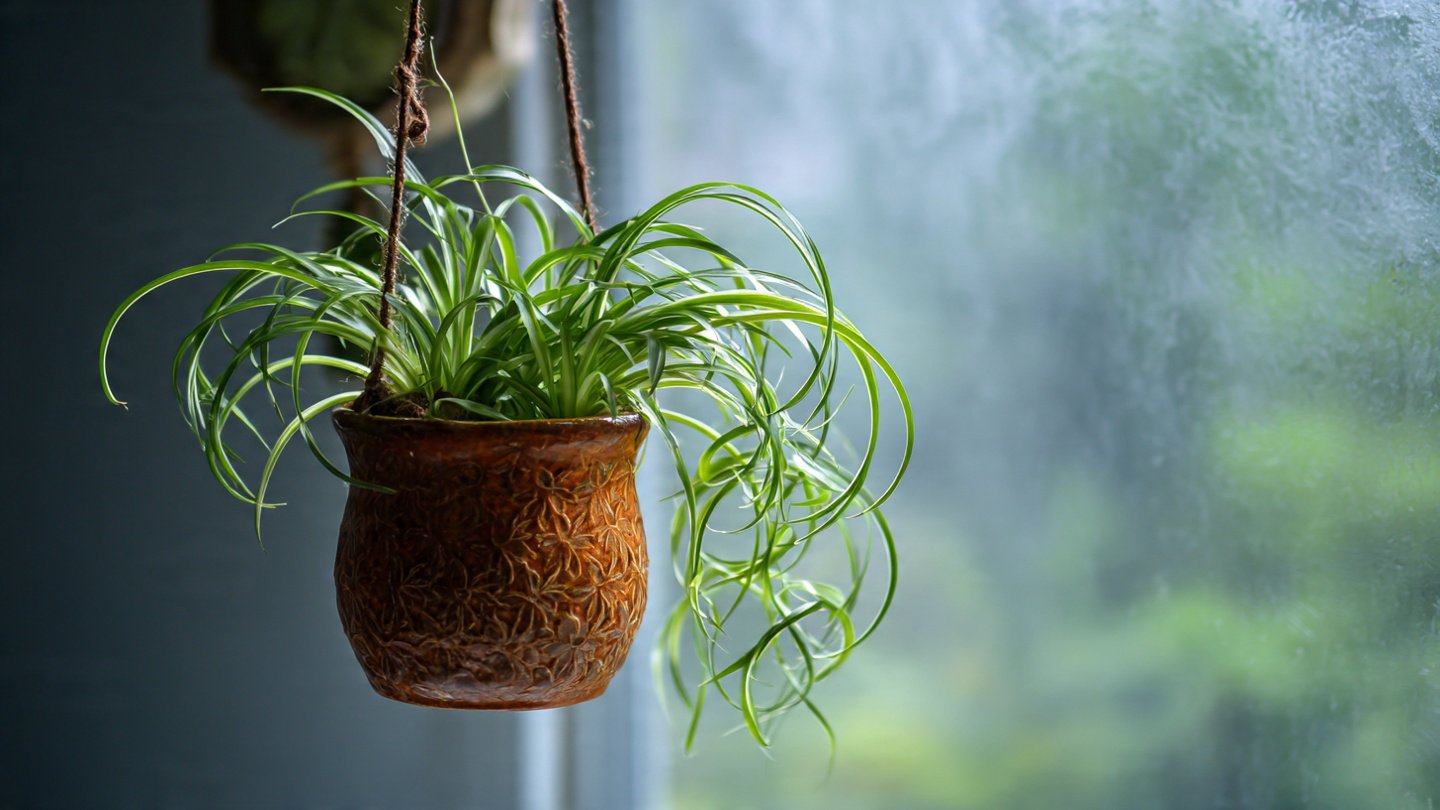
1. Aesthetic Appeal
The curly spider plant’s striking, wavy foliage adds a unique touch to any indoor space. Its vibrant green leaves can complement various décor styles, making it versatile for home or office settings.
2. Air Purification
Spider plants are known for their air-purifying properties. They can effectively filter out harmful substances like formaldehyde, benzene, and carbon monoxide, contributing to a healthier living environment.
3. Easy to Care For
Curly spider plants are low-maintenance and can thrive in various conditions, making them perfect for busy individuals or those new to gardening.

The Ultimate Easy Hack to Cultivate Your Curly Spider Plant
Step 1: Selecting the Right Plant
Start by choosing a healthy curly spider plant. Visit a local nursery or garden center where you can inspect the plants closely. Look for bright, green leaves without any signs of browning or wilting.
Step 2: The Perfect Pot
Opt for a pot with good drainage. A terracotta pot allows moisture to escape, promoting healthy root growth. Ensure the pot has drainage holes to prevent waterlogging. Additionally, consider using a stylish pot that complements your interior.
Step 3: Quality Potting Mix
A well-draining potting mix is crucial for your plant’s health. Combine all-purpose potting soil with perlite or sand to improve drainage. This blend allows air to circulate around the roots, preventing rot.
Step 4: Optimal Light Conditions
Curly spider plants thrive in bright, indirect sunlight. Place your plant near a window but not in direct sunlight, as this can scorch the leaves. If natural light is limited, you can supplement with grow lights.

Step 5: Watering Technique
Spider plants prefer to dry out slightly between waterings. To prevent overwatering, check the top inch of soil—if it feels dry, it’s time to water. When watering, do so thoroughly until water drains out of the pot’s bottom. This ensures the roots receive adequate moisture.
Step 6: Humidity and Temperature
Curly spider plants appreciate moderate humidity and temperatures between 65°F to 75°F (18°C to 24°C). If your home is particularly dry, consider placing a humidifier nearby or misting the leaves occasionally.
Step 7: Fertilization
Feed your curly spider plant with a balanced liquid fertilizer every month during the growing season (spring and summer). Dilute the fertilizer to half-strength to avoid burning the roots. In fall and winter, reduce feeding to once every two months.
Step 8: Propagation
One of the best features of spider plants is their ability to produce “pups” or small plantlets. When these pups develop roots, they can be separated and potted in their own containers. Follow these steps:

- Choose a Pup: Select a healthy pup from the parent plant.
- Cutting: Use clean, sharp scissors to snip the pup with some root attached.
- Potting: Place the pup in a small pot with the same potting mix you used for the parent plant. Water lightly to settle the soil.
- Care: Keep the new plant in a warm, bright location until it is established.
Step 9: Common Issues and Solutions
While curly spider plants are typically resilient, they can face certain challenges. Here are a few common issues and how to address them:
- Brown Tips: This often indicates either underwatering or low humidity. Adjust your watering schedule and increase humidity if necessary.
- Pests: Keep an eye out for spider mites and aphids. You can wash leaves with a soft cloth or spray them with insecticidal soap.
- Wilting Leaves: This can be due to overwatering. If the soil is persistently wet, consider replanting the spider plant in fresh, dry soil.
Additional Tips for Success

- Rotate Your Plant: Every few weeks, rotate your plant to ensure even light exposure, promoting balanced growth.
- Regular Dusting: Dust can accumulate on the leaves, hindering photosynthesis. Wipe the leaves gently with a damp cloth to keep them clean.
- Companion Plants: Pair your curly spider plant with other houseplants that thrive in similar conditions, such as pothos or peace lilies.
FAQs
Q1: How often should I water my curly spider plant?
A: Water your plant when the top inch of soil feels dry, typically every one to two weeks, depending on environmental conditions.
Q2: Can I grow a curly spider plant in low light?
A: While they can survive in low light, curly spider plants thrive best in bright, indirect sunlight. If possible, provide supplemental grow lights.
Q3: What should I do if my plant has root rot?
A: If you suspect root rot, remove the plant from its pot, trim away any black or mushy roots, then repot it in fresh, dry soil.

Q4: Are curly spider plants toxic to pets?
A: No, spider plants are non-toxic to both cats and dogs, making them a safe choice for households with pets.
Q5: When should I fertilize my curly spider plant?
A: Fertilize monthly during the growing season (spring and summer) and reduce to every two months in fall and winter.
Conclusion
Cultivating a beautiful curly spider plant at home is an enjoyable and fulfilling endeavor. By following this ultimate easy hack, you’ll set your plant up for success and increase your chances of creating an eye-catching indoor garden. With their unique aesthetic and numerous benefits, curly spider plants can bring life to any space while improving air quality. Embrace the joy of gardening and watch as your curly spider plant flourishes into a stunning centerpiece in your home. Happy planting!