Simple Method for Successfully Rooting Drumstick Cuttings at Home
The drumstick tree, scientifically known as Moringa oleifera, is renowned for its nutritional benefits and fast growth. Apart from its edible leaves and pods, one of the simplest ways to propagate this tropical wonder is through cuttings. This article will guide you through the process of rooting drumstick cuttings at home, ensuring that you have a robust and thriving plant for your garden or kitchen.
Understanding Drumstick Trees
Latest Posts
- Easy Steps to Successfully Grow Bhindi in Grow Bags at Home
- Easy Steps to Grow a Healthy Guava Bonsai at Home for Beginners
- How to Successfully Grow and Cultivate White Strawberry Plants at Home for Delicious and Unique Fruits
- Ultimate Guide to Successfully Growing Weeping Fig Outdoors with Proven Techniques and Expert Tips
- How to Successfully Grow Flemish Beauty Pear Trees in Canada for Optimal Harvest
- Easy Hack to Grow Strawberries Year Round in Your Home Garden for Delicious Harvests
- Growing Flemish Beauty Pears in Canada A Complete Guide for Local Gardens
- The Ultimate Guide to Growing Hibiscus Plants Year Round for Vibrant Blooms and Healthy Foliage
- Easy Ways to Boost the Growth Rate of Your Indoor Peace Lily for Lush Green Foliage
- How to Successfully Grow Oak Leaf Lettuce in Your Home Garden for Fresh and Flavorful Salads
Before diving into the propagation process, it’s essential to understand drumstick trees. Originating from the Indian subcontinent, Moringa is now grown in various regions around the world. The tree flourishes in tropical and subtropical climates and is highly adaptable to poor soil conditions. Its leaves are rich in vitamins and minerals, making it a valuable asset in many diets.
Benefits of Growing Drumstick Trees:
- Nutritional powerhouse: Rich in vitamins A, C, and E, calcium, potassium, and protein.
- Versatility: Edible leaves, flowers, and pods.
- Fast growth: Can reach up to 10-15 feet within a year under ideal conditions.
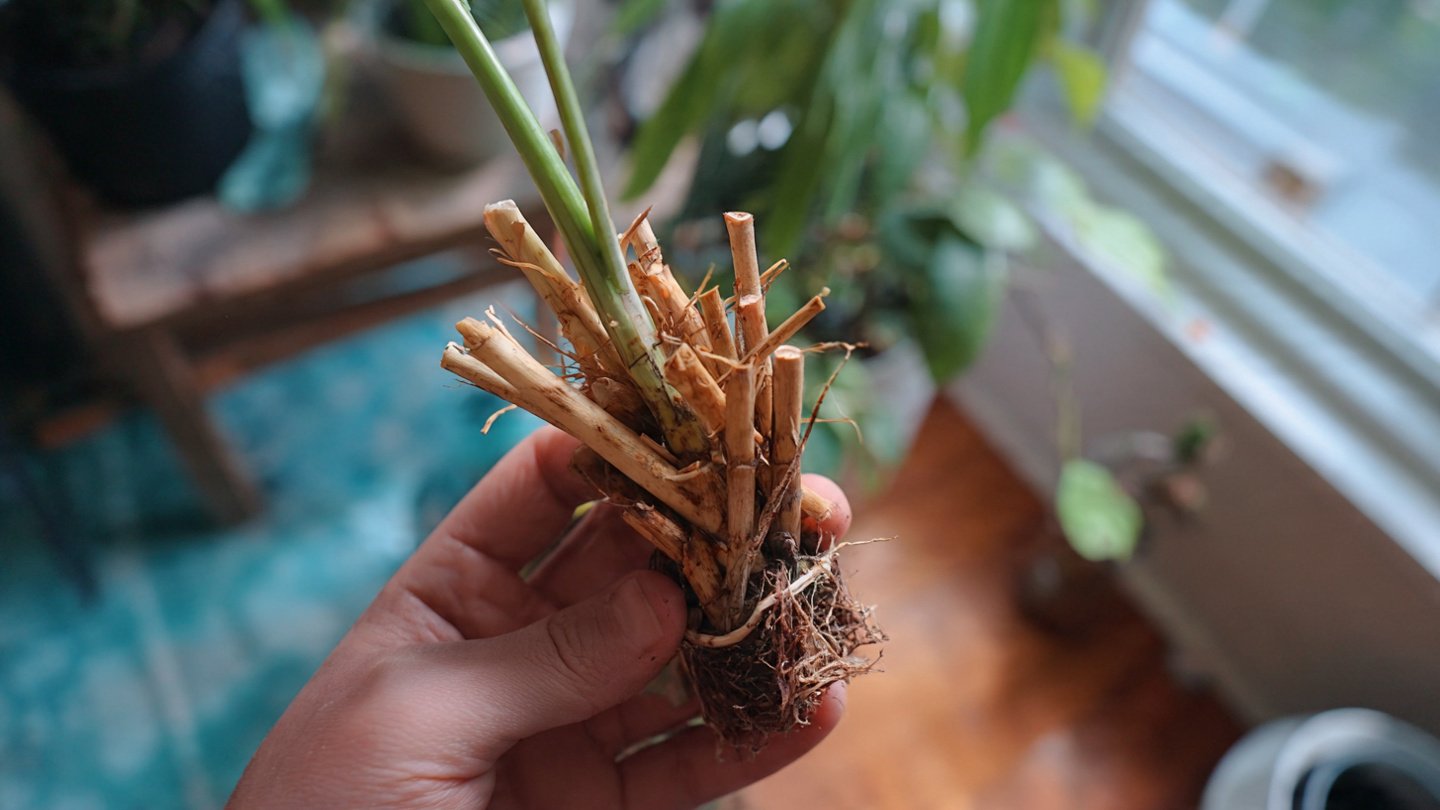
Choosing the Right Cuttings
The success of propagating any plant begins with selecting the right cuttings. Here’s how to choose the best drumstick cuttings:
- Age of the Tree: Select cuttings that are taken from a healthy, mature tree, ideally aged between 6 months to 2 years.
- Type of Cutting: Use stem cuttings that are 1-2 feet long and have a diameter of about 1-2 inches. A thicker cutting will generally root better.
- Time of Year: Early spring or late summer is the best time to take cuttings, as this aligns with the growth season in most regions.

Preparing the Cuttings
Once you have your cuttings, you’ll need to prepare them for rooting:
-
Clean the Cuttings: Remove any lower leaves, leaving at least 2-3 leaves at the top. This helps reduce moisture loss while still allowing for photosynthesis.
-
Wound Treatment (Optional): Some gardeners recommend allowing the cut end to dry for 24 hours. This forms a protective callus that can reduce the risk of rot.
-
Rooting Hormone (Optional): Dip the cut end of the stem in rooting hormone powder. While this isn’t strictly necessary, it can enhance rooting chances.
Planting the Cuttings
With your cuttings prepared, it’s time to plant them:
-
Choose Your Medium: Drumstick cuttings can root in various mediums, but a well-draining potting mix is ideal. You can also use a mixture of sand and peat moss or even perlite for better drainage.
-
Plant the Cuttings: Make holes in the soil (about 6 inches deep) and insert the cuttings. Ensure that at least 1/3 of each cutting is buried in the medium. Space them adequately to allow airflow.

-
Watering: Water the cuttings lightly to settle the soil around them. Make sure not to overwater, as this can cause rot.
Providing the Right Environment
Creating the right environment is crucial for successful rooting:
-
Temperature: Keep the cuttings in a warm environment. Ideally, temperatures should be between 70°F and 85°F (21°C to 29°C).
-
Humidity: To maintain humidity, cover the cuttings with a plastic bag or provide a humidity dome. This will create a mini-greenhouse and help the cuttings retain moisture.
-
Light: Place the cuttings in a location where they receive indirect sunlight. Direct sunlight can scorch the cuttings, while too little light can hinder growth.
Monitoring and Care
After planting, monitoring and care will determine the success of your cuttings:
-
Watering: Keep the soil moist but not soggy. Check the moisture level regularly. A good practice is to water when the top inch of soil feels dry.
-
Ventilation: If using a plastic cover, ventilate it daily by removing it for a few hours to prevent mold growth. Remove the cover entirely once you observe new growth.
-
Fertilization: After a few weeks, if the cuttings show signs of growth, you can start using a diluted liquid fertilizer every two weeks.

Transplanting the Rooted Cuttings
Once your cuttings have developed roots (after about 4-6 weeks), you can transplant them:
-
Check for Roots: Gently tug the cutting; if you feel resistance, it indicates root development.
-
Select a Location: Choose a sunny spot in your garden or a larger pot with well-draining soil.
-
Transplanting: Carefully remove the cutting from the nursery container without disturbing the roots too much. Plant it in the prepared hole and water well.
-
Care After Transplanting: Water the transplanted cuttings thoroughly and continue to care for them as they grow. Provide support if they are young and prone to wind damage.
Common Issues and Troubleshooting
While rooting drumstick cuttings is generally straightforward, you may encounter some common issues:

- Yellowing Leaves: This could indicate overwatering or inadequate drainage.
- Wilting: Underwatering or lack of humidity could cause this.
- Slow Growth: Ensure that the cuttings receive adequate light and warmth.
- Rot: If cuttings become mushy, they may be rotting. Remove any affected cuttings and evaluate watering practices.
FAQs
1. How long does it take for drumstick cuttings to root?
- It typically takes about 4-6 weeks for drumstick cuttings to root, depending on environmental conditions.
2. Can I root drumstick cuttings in water?
- While drumstick cuttings can technically root in water, it’s generally more effective to root them in soil for better stability and nutrient access.
3. Do I need rooting hormone to successfully root drumstick cuttings?
- Rooting hormone can help promote rooting, but it’s not strictly necessary. Many gardeners successfully root cuttings without it.
4. What soil type is best for rooting drumstick cuttings?

- A well-draining soil mix is essential, such as a combination of potting soil and perlite or sand.
5. Can I plant drumstick cuttings directly in the garden?
- Yes, you can plant directly in the garden after rooting, but make sure the cuttings are well-established, ideally 6 inches tall.
6. Can I propagate drumstick trees from seeds?
- Yes, drumstick trees can also be propagated from seeds, which is another common method for establishing new plants.
7. How often should I water the cuttings?
- Water the cuttings when the top inch of soil feels dry. Ensure that the soil remains moist but not soggy.
Conclusion
Rooting drumstick cuttings at home is a rewarding project that allows you to cultivate this beneficial plant. With proper care, you’ll have thriving trees that provide not only nutrition but also beauty to your garden. By following the outlined steps and troubleshooting common issues, you can successfully propagate and enjoy the benefits of the remarkable drumstick tree. Happy gardening!