Growing your own herbs can be immensely satisfying, and one such herb that’s gaining popularity is Kasuri Methi, or dried fenugreek leaves. This versatile herb can enhance dishes with its unique flavor and aroma, making it a great addition to any kitchen garden. In this guide, we will delve into the essentials of growing Kasuri Methi in a pot at home, covering everything from selecting the right materials to care and maintenance.
What is Kasuri Methi?
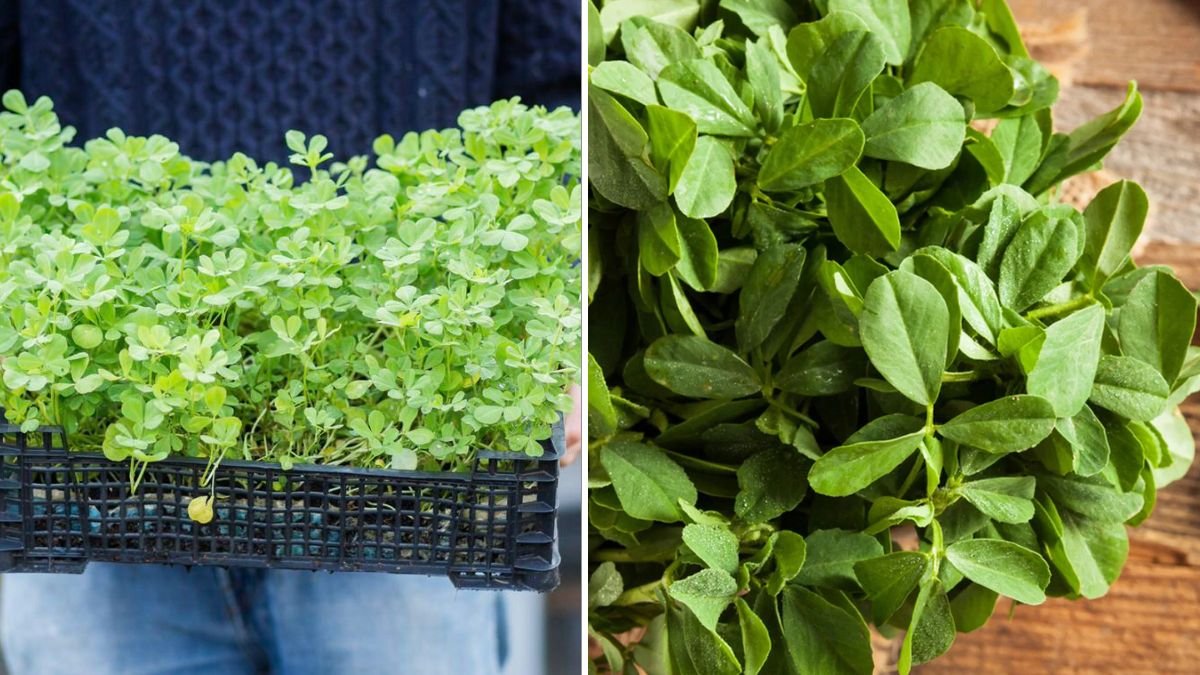
Kasuri Methi, scientifically known as Trigonella foenum-graecum, has been used for centuries both as a culinary herb and for medicinal purposes. Its leaves are traditionally dried and ground into a powder that is used in various Indian dishes, imparting a distinct, slightly bitter flavor. This herb is not just rich in taste but also packed with nutrients, including vitamins, minerals, and antioxidants.
Latest Posts
- Easy Steps to Successfully Grow Bhindi in Grow Bags at Home
- Easy Steps to Grow a Healthy Guava Bonsai at Home for Beginners
- How to Successfully Grow and Cultivate White Strawberry Plants at Home for Delicious and Unique Fruits
- Ultimate Guide to Successfully Growing Weeping Fig Outdoors with Proven Techniques and Expert Tips
- How to Successfully Grow Flemish Beauty Pear Trees in Canada for Optimal Harvest
- Easy Hack to Grow Strawberries Year Round in Your Home Garden for Delicious Harvests
- Growing Flemish Beauty Pears in Canada A Complete Guide for Local Gardens
- The Ultimate Guide to Growing Hibiscus Plants Year Round for Vibrant Blooms and Healthy Foliage
- Easy Ways to Boost the Growth Rate of Your Indoor Peace Lily for Lush Green Foliage
- How to Successfully Grow Oak Leaf Lettuce in Your Home Garden for Fresh and Flavorful Salads
Why Grow Kasuri Methi at Home?
- Freshness: Home-grown herbs are fresher than store-bought varieties.
- Cost-Effective: Growing your own herbs can save money in the long run.
- Space-Efficient: They can easily thrive in pots, making them perfect for small spaces.
- Organic: You can control the growing conditions and eliminate harmful chemicals.
- Flavor: Fresh Kasuri Methi adds unmatched flavor to your dishes.
Materials Needed
Pots
- Size: Choose pots that are at least 6-8 inches deep. If you plan to grow multiple plants, consider larger pots (12-16 inches).
- Material: Terracotta, plastic, or ceramic pots work well, but ensure they have adequate drainage holes.

Soil
- Use a well-draining potting mix. A combination of garden soil, compost, and perlite or sand typically works best.
Seeds
- Get high-quality Kasuri Methi seeds from a reputable source. You can also choose organic seeds for the best results.
Watering Can
- A watering can with a fine spout allows you to control water application.
Fertilizer
- A balanced, organic fertilizer will help your plants thrive. Look for those rich in phosphorus and potassium.
Sunlight
- Kasuri Methi requires full sunlight, so ensure your pots are placed where they can receive at least 6 hours of direct sunlight daily.
Growing Kasuri Methi: Step-by-Step Guide

Step 1: Preparing the Pot
- Choose the Right Pot: Select a pot that’s appropriate for the space you have.
- Soil Mixture: In a mixing bowl, combine equal parts of garden soil, compost, and perlite or sand for drainage.
- Fill the Pot: Pour the soil mixture into the pot, leaving about an inch of space at the top.
Step 2: Sowing the Seeds
- Seed Preparation: Soak your Kasuri Methi seeds in water for about 4-5 hours. This will help them germinate faster.
- Sowing: After soaking, scatter the seeds evenly on top of the soil mixture. You can plant about 10-15 seeds in a standard pot.
- Covering: Lightly cover the seeds with a thin layer of soil (about 1/4 inch).
- Watering: Water the area gently without washing away the seeds. Keep the soil moist but not waterlogged.
Step 3: Caring for Your Kasuri Methi Plants
- Light: Ensure the pots receive at least 6-8 hours of sunlight daily. If you’re growing indoors, a south-facing window is ideal.
- Watering: Water your plants every two to three days. Ensure the topsoil dries out between watering to prevent root rot.
- Fertilization: After about two weeks, apply a balanced organic fertilizer. Repeat every 4-6 weeks according to the fertilizer instructions.
- Thinning: Once the seedlings have grown about 2-3 inches tall, thin them out, leaving the strongest plants to grow. This prevents overcrowding.

Step 4: Harvesting Kasuri Methi
- Timing: You can start harvesting leaves when the plants are about 6 inches tall and have a healthy number of leaves.
- Method: Use clean, sharp scissors or pruning shears to snip off the leaves. Avoid cutting more than a third of the plant at a time to allow it to regenerate.
- Drying: If you wish to dry the leaves for later use, place them in a single layer on a tray in a cool, dark place. Once fully dried, store them in an airtight container.
Common Issues and Solutions
Pests
- Issue: Aphids and spider mites can attack your plants.
- Solution: Use insecticidal soap or neem oil. Regularly inspect your plants to catch infestations early.
Diseases
- Issue: Fungal diseases can result from over-watering.
- Solution: Ensure proper drainage and avoid watering directly over the leaves.
Nutrient Deficiency
- Issue: Yellowing leaves may indicate a nutrient deficiency.
- Solution: Apply an organic fertilizer that’s rich in nitrogen.

Growth Problems
- Issue: If plants are leggy, they might not be getting enough light.
- Solution: Move them to a sunnier location.
Frequently Asked Questions (FAQs)
Q1: How long does it take for Kasuri Methi seeds to germinate?
A: Kasuri Methi seeds typically take about 7-14 days to germinate, depending on the temperature and moisture levels.
Q2: Can Kasuri Methi be grown indoors?
A: Yes, Kasuri Methi can be grown indoors as long as it receives adequate sunlight. A south-facing window is ideal.
Q3: How often should I water my Kasuri Methi?
A: Water your Kasuri Methi every 2-3 days, allowing the topsoil to dry out between watering.
Q4: Do I need to prune Kasuri Methi?
A: Pruning isn’t strictly necessary, but regular harvesting encourages bushier growth and more leaves.

Q5: Can I grow Kasuri Methi from grocery store seeds?
A: While it’s possible, grocery store seeds may not be high quality. It’s better to buy seeds from a gardening supply store for best results.
Q6: How do I store dried Kasuri Methi?
A: Store dried Kasuri Methi in an airtight container in a cool, dark place to maintain its flavor and aroma.
Q7: What can I do if my Kasuri Methi plants are not growing well?
A: Review the light, water, and nutrient conditions. Ensure the plants are receiving enough sunlight and that the soil drains well. Adjust watering frequency if necessary.
Conclusion
Growing Kasuri Methi at home can be a fulfilling and rewarding experience. Not only does it enrich your cooking, but it also allows you to enjoy the benefits of home gardening. With the right pot, soil, and care, you can cultivate this delicious herb right in your kitchen. As you embark on this gardening journey, remember that patience and attention to detail will yield the best results. Happy gardening!